By: XEONIQ [ Instagram | Tumblr ]
Introduction
Lucky Film Company is a Chinese film manufacturer who began producing C-41 colour films in the 1980’s, stopping production by 2012 as the market demand for colour stocks waned. However, a resurgence in film demand combined with a slew of environmental regulations which have effectively taken Japanese manufacturer Fujifilm out of the market left an opportunity for Lucky to begin producing colour film once more.
Unlike Fujifilm’s 200 and 400 speed C-41 films, which are simply rebrands of Kodak’s Gold 200 and Ultramax 400 respectively, Lucky 200 is produced fresh in Baoding, Hebei Province, China. 200 is not a re-pack like Cyberpunk films, or other Kodak Vision3 re-packs, nor is it one of the numerous expired C-41 film re-packs from various vendors. For this reason, the analog film community has been quite interested in Lucky’s new 200 release which marks the first genuinely new colour film stock release since Kodak’s Ektar 100 in 2008 and Harmann’s Phoenix and Phoenix II in 2023 and 2025. While Ektar 100 is in my mind the highest quality and finest grain C-41 film being produced today, Harmann’s Phoenix and Phoenix II are branded as “experimental”, for a reason: they are essentially “lomo” films like Lomography Metropolis, and are not able to deliver accurate renditions of scenes in the way that most C-41 films can; marred by high grain, poor exposure latitude and surreal colours that cannot be feasibly corrected.
While reviews of Lucky 200 have begun trickling in since the film’s launch in September, 2025, I have not been able to find one with many in-depth impressions on actually shooting and editing 200 as one might on a “photo walk”, trip or other hobbyist pastime. With the popularity of my Cyberpunk 35mm film review article [ SHELLZINE LINK ], I’ve tried to create a “real world” use case review of Lucky 200 in a similar format to provide readers with a more accurate presentation of the film’s performance.
The Method
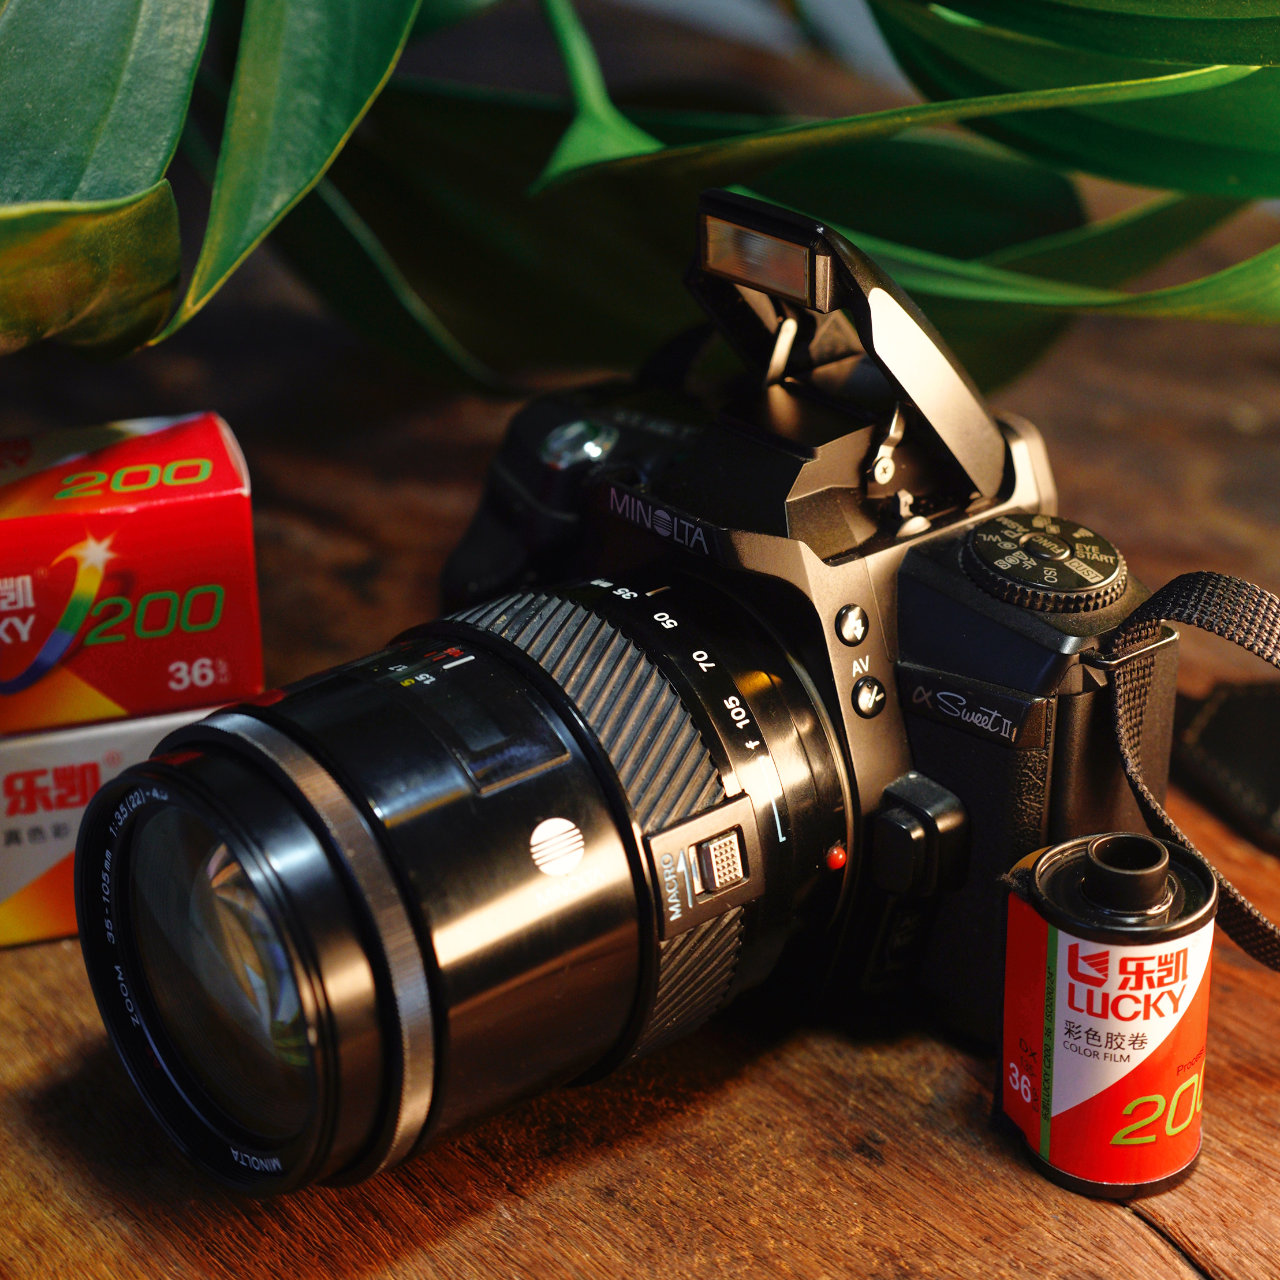
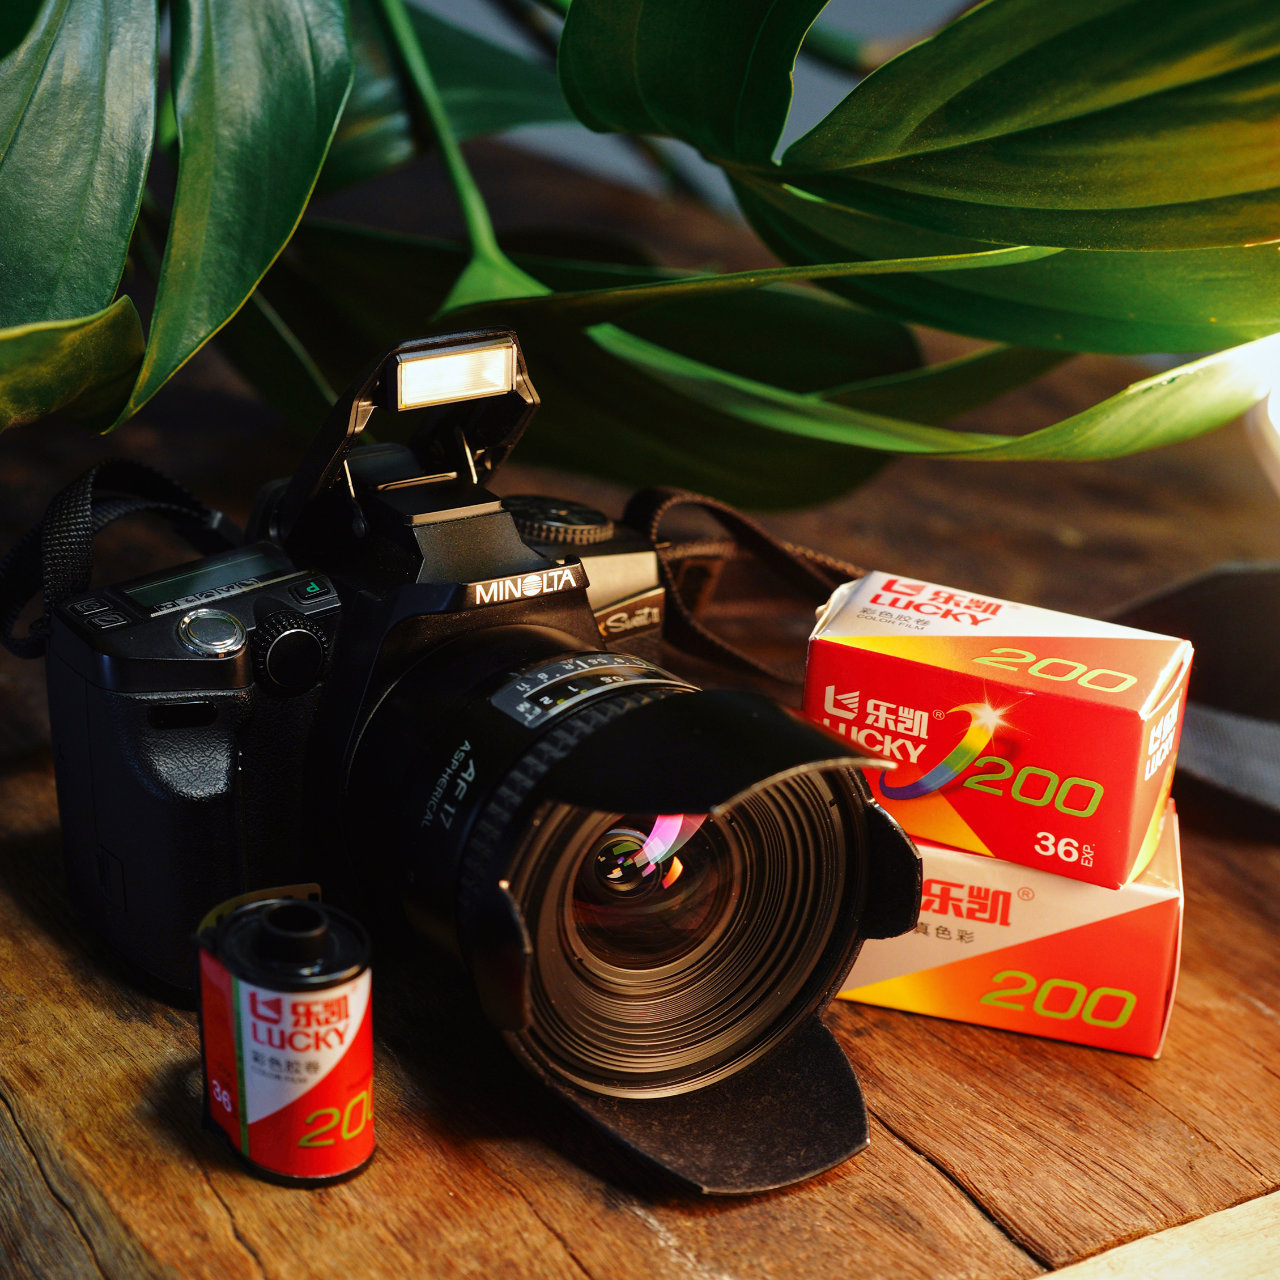
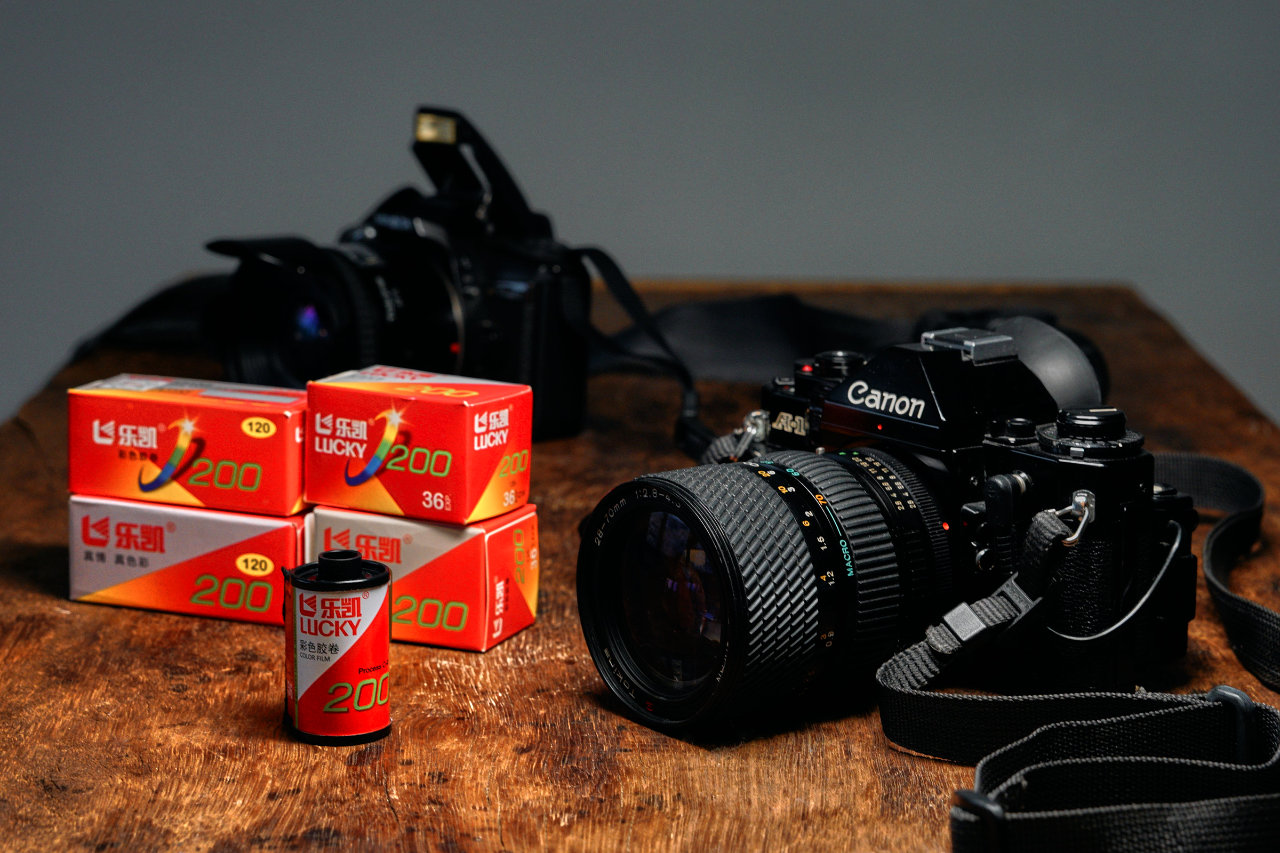
I purchased 2 rolls of Lucky 200 35mm at 59RMB ($USD8.50) for this review.
Note: Lucky also sells Color 200 in 120 format. I have procured two rolls of this to test on my Bronica SQ-Ai as well, and will add my scans and thoughts to this article at a later date.
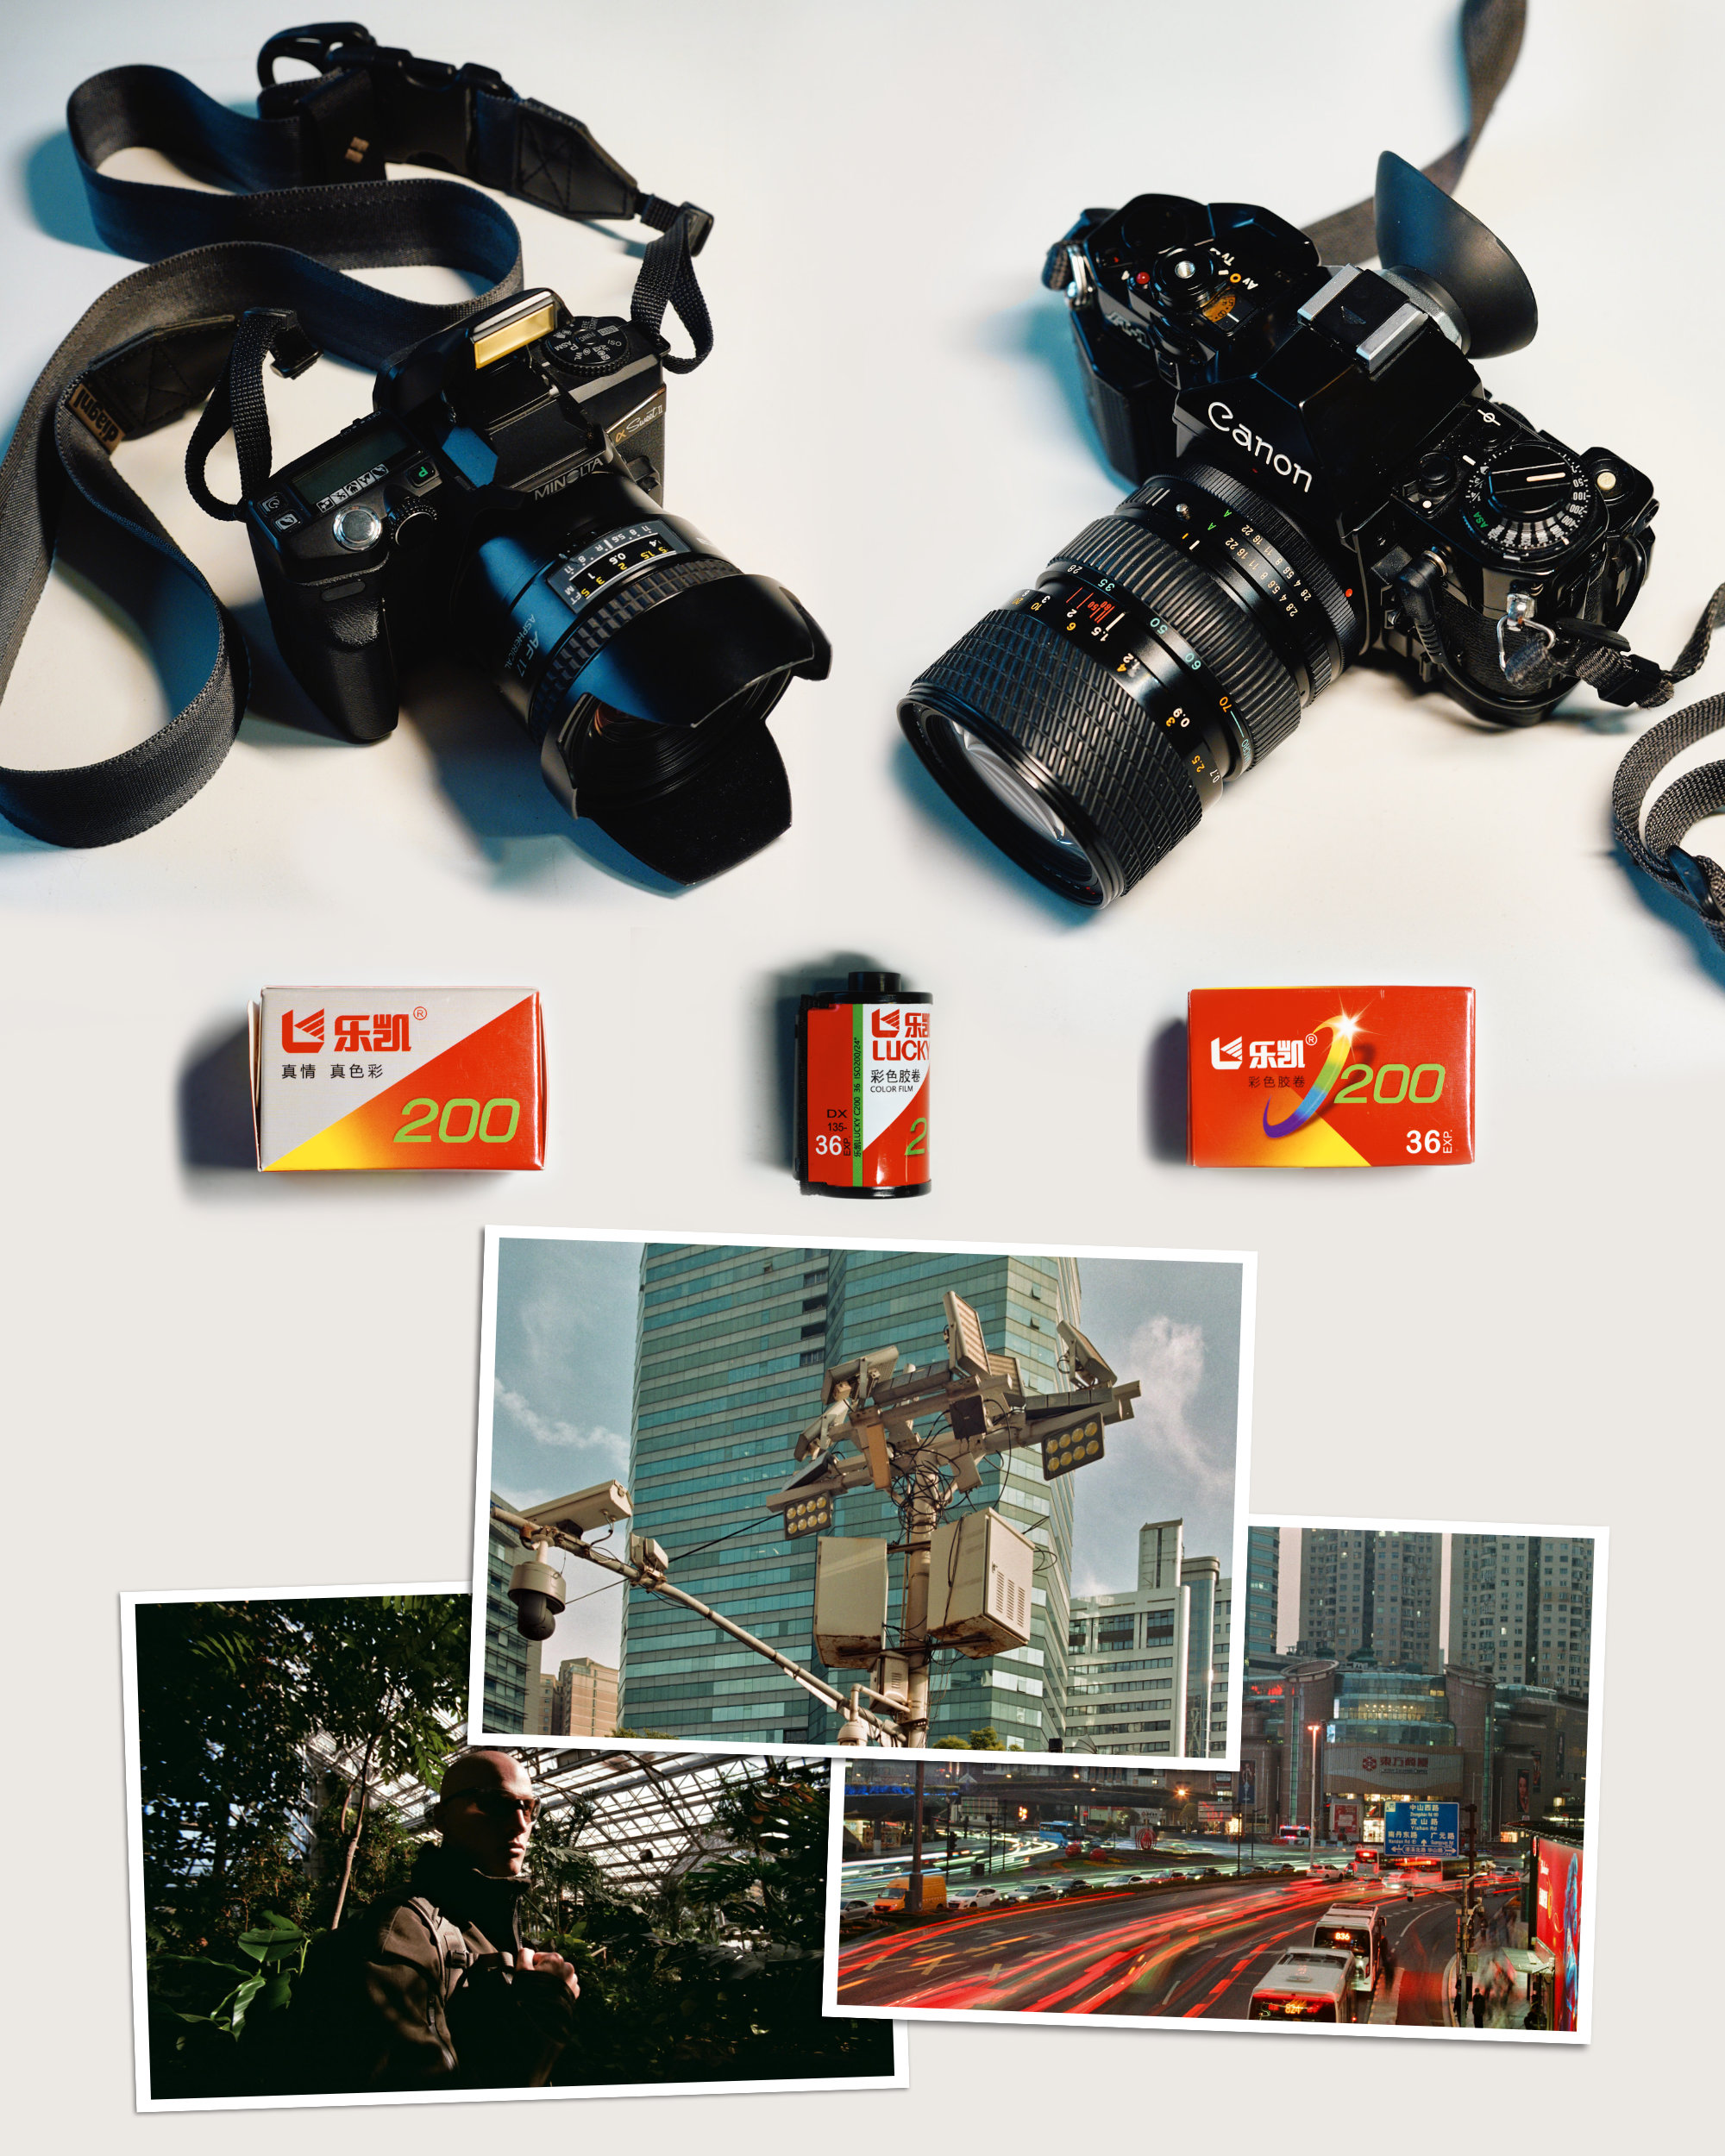
I shot one roll on a Minolta A5 with a 17mm 3.5 Tokina prime lens and a Minolta 35-105 3.5-4.5 zoom; which are both very inexpensive lenses for the Minolta AF/Sony A-mount system.
The second roll was shot on a Canon A-1 with a Tokina 28-70 2.8-4.5 zoom, which came free with the camera and is one of the softest performing lenses I own.

I chose these lenses on two affordable mounts for this review because I rationalised that those who want to try Lucky 200 out are not using expensive set ups such as anything Leica or Canon EOS-1V with L glass, who could afford to shoot nothing but Ektar or Colour positive/slide film if they wished. An inexpensive film stock should be tested on inexpensive lens set ups.
Once exposed, I had the two rolls “flat-scanned” by my local lab as TIFF files. A flat scan is one with absolutely minimal contrast, saturation or colour tweaks, and these are ideal for editing. I then tweaked the colours in Affinity Photo to attempt to bring the image as close to the subjective “reality” of how I saw the shot at the time. In some cases I will show the original scan to show the extent to which the film had to be corrected.
Film photography is a kind of art that will go through various processes before it is shared as a digital image online. For that reason, I think it is important to post edits of my film, not just lab scans; not to mention the fact that a lab’s scanner and auto-correction profiles are going to vary significantly between labs; meaning posting a review with “scans only” is not in any way objective.
I will also offer impressions for each shot on how I think it came out versus my intention and any further observations I made during editing.
First Impressions
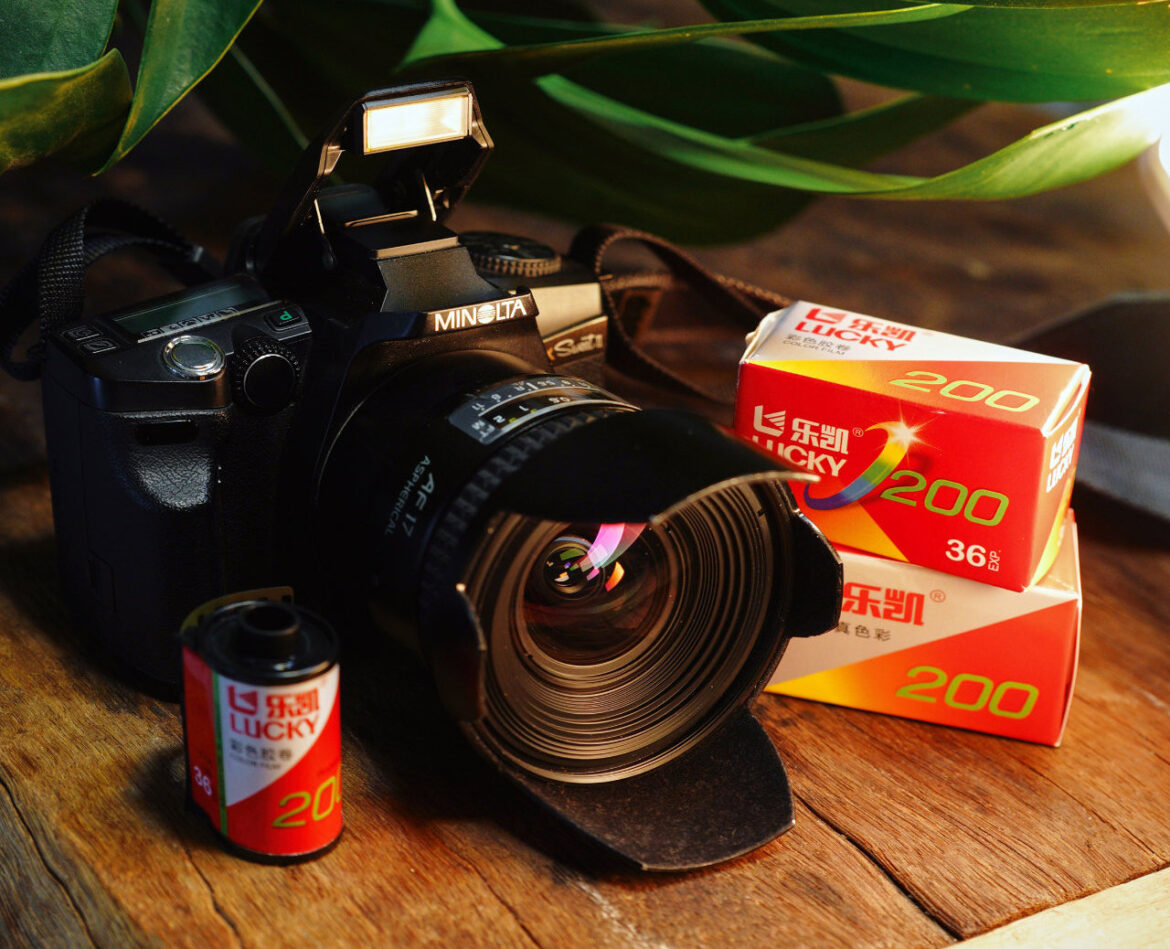
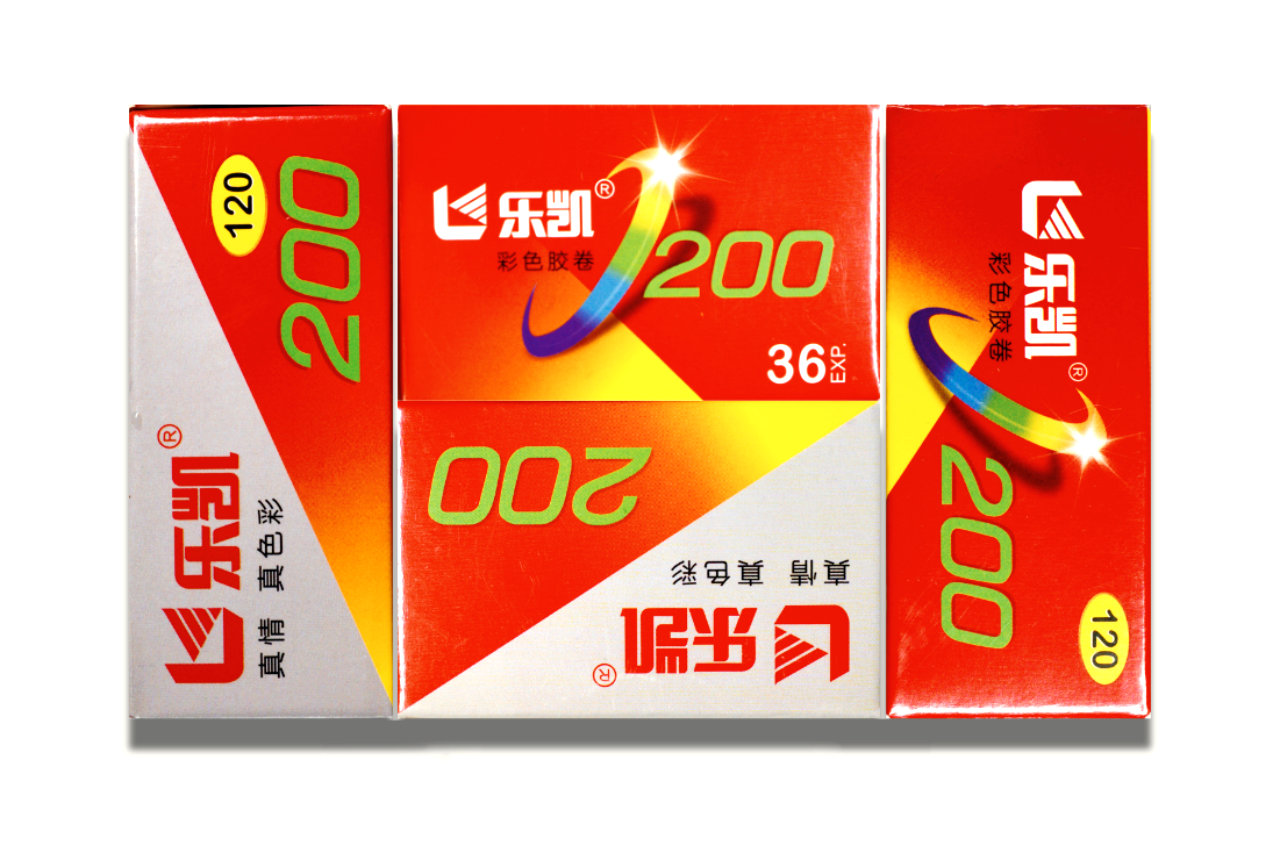
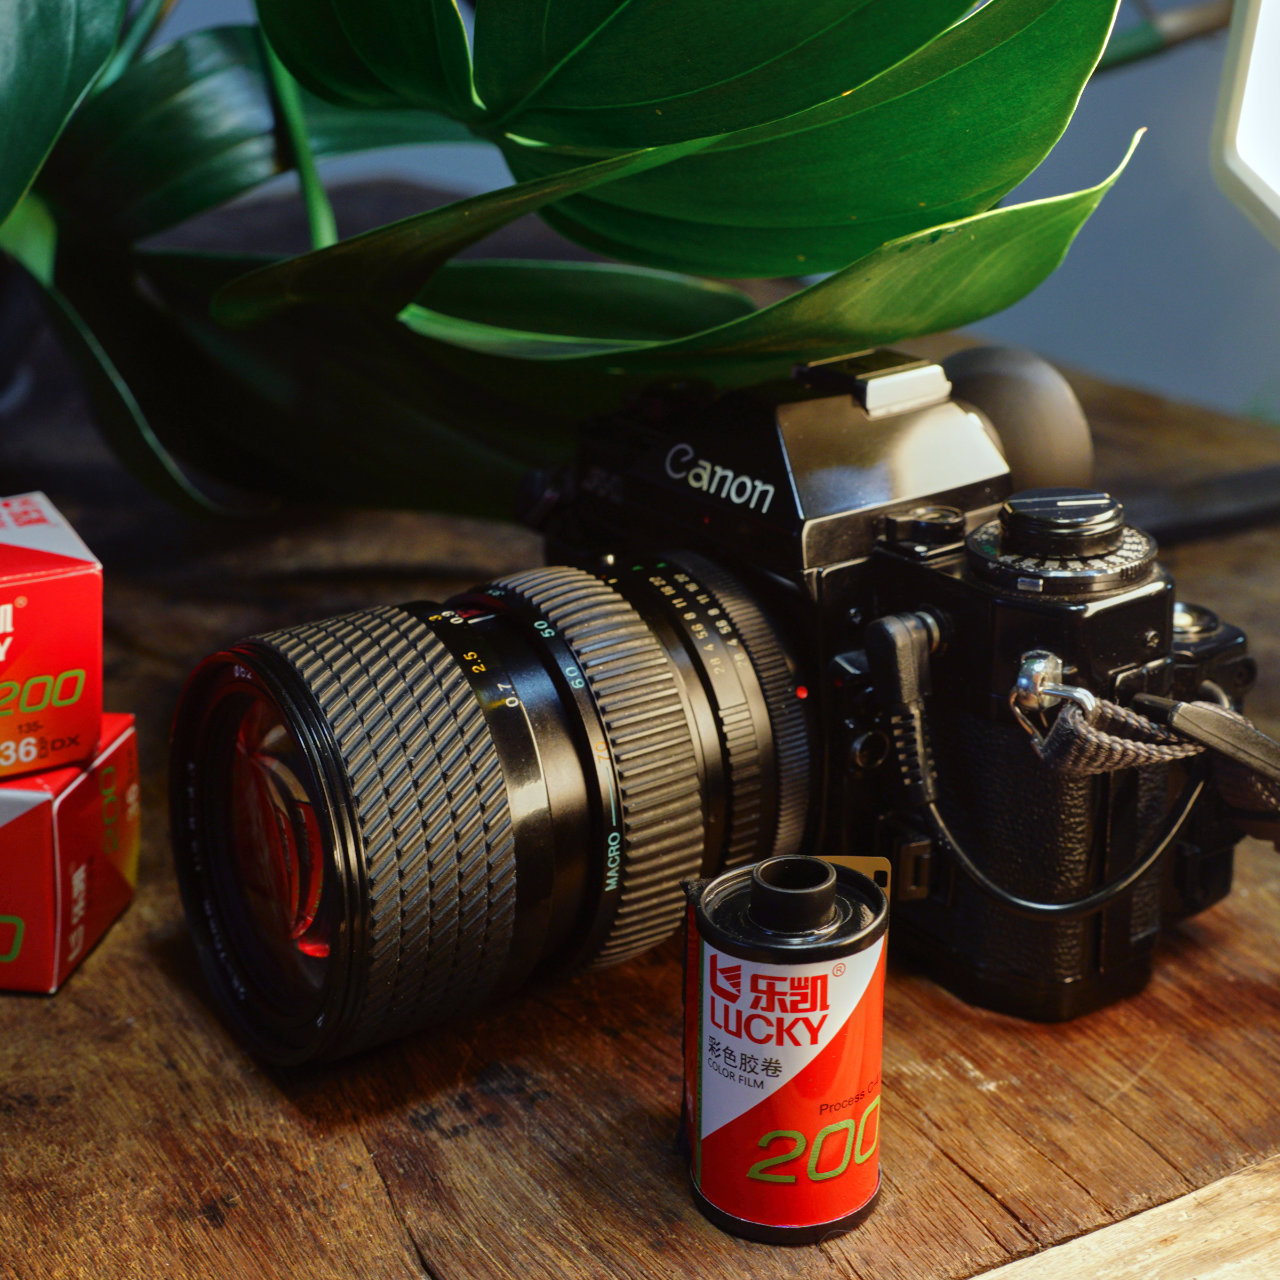
The design of the films box packaging and the roll itself are beautifully done in my opinion, and while that should have very little to do with a review of a photo film, credit should be given where due. It’s a much more attractive looking film cannister than Cinestill, any of the cheap repacks and arguably many of Kodak and Fuji’s offerings.
It looks very 1980’s, and evokes a kind of Hong Kong or Chinese design aesthetic, and I personally felt excited to shoot with it on un-boxing.
When I first arrived in China years ago, I enjoyed shooting Shanghai GP3 black and white film here; and Lucky 200 feels equally inspiring in the same way that Fujifilm’s Superia Premium 400 or Velvia 50 can be fun to shoot while in Japan.
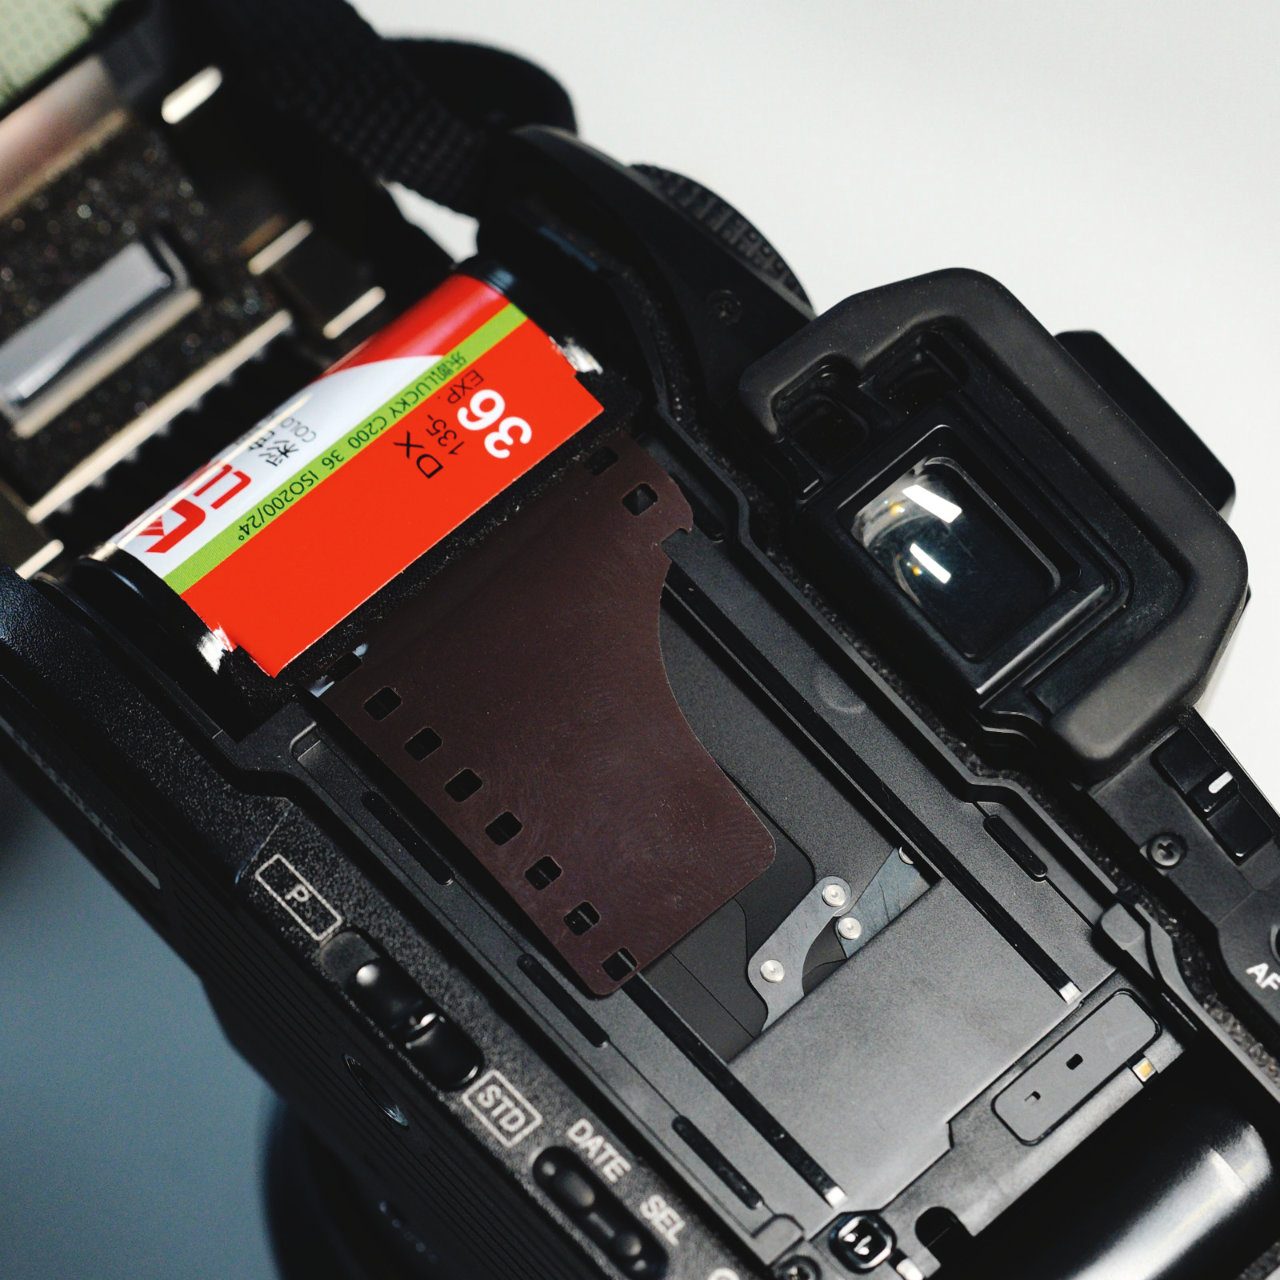
Further, 200’s leader is cut well and there was no deformation in the sprockets in either of the two rolls, which I have encountered a few times in cheap re-pack and lomography films. Physically, Lucky 200 looks and feels like a professional 35mm product.
Roll 1: Minolta A5
This first set of shots were taken using my Gen. 1 Minolta 35-105mm f3.5-4.5, which is my favourite affordable zoom lens that I own. I paid $AUD10 for it years ago and it adapts very well to digital, providing sharp images as well as a macro mode.
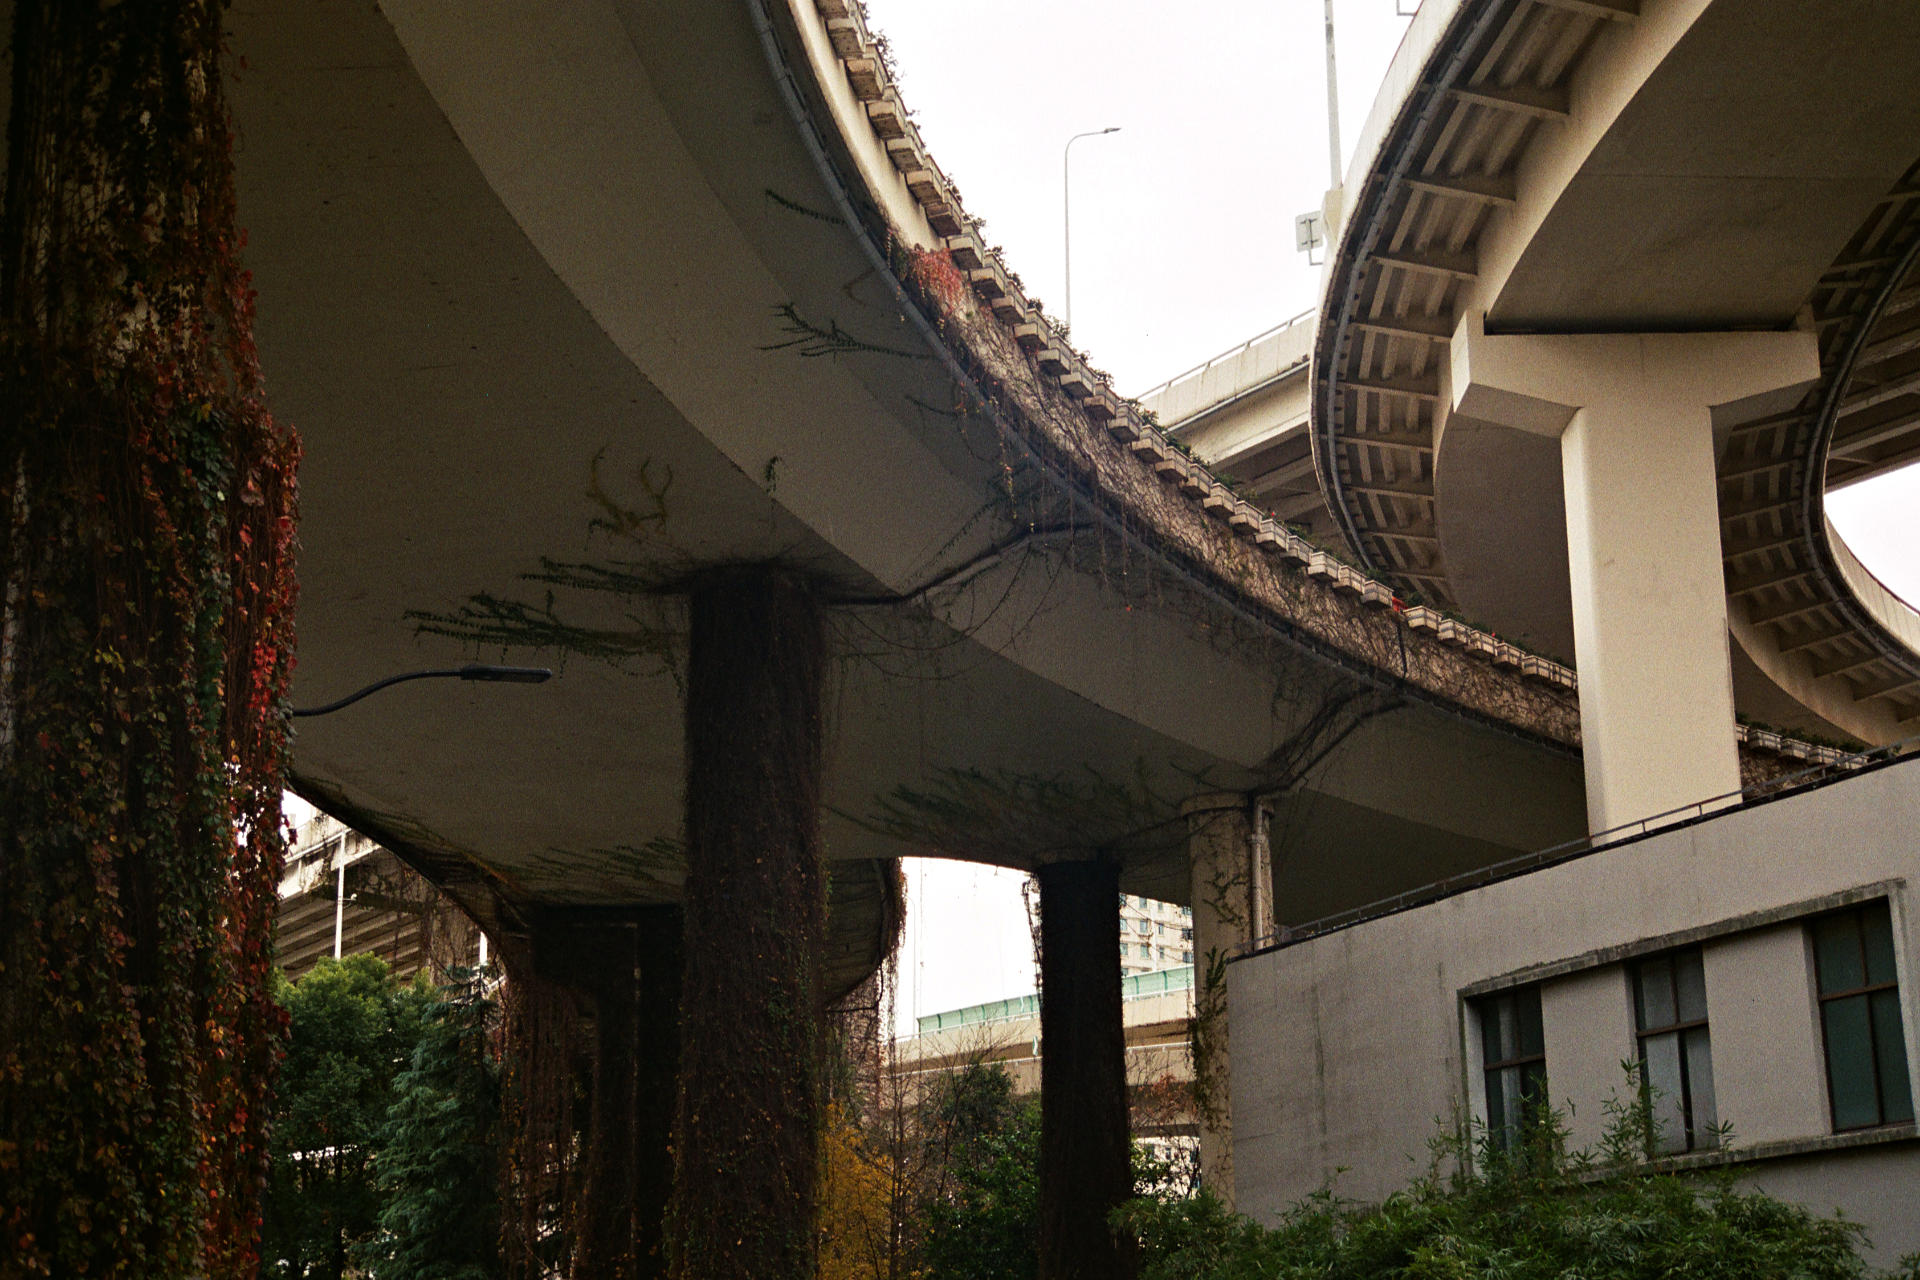
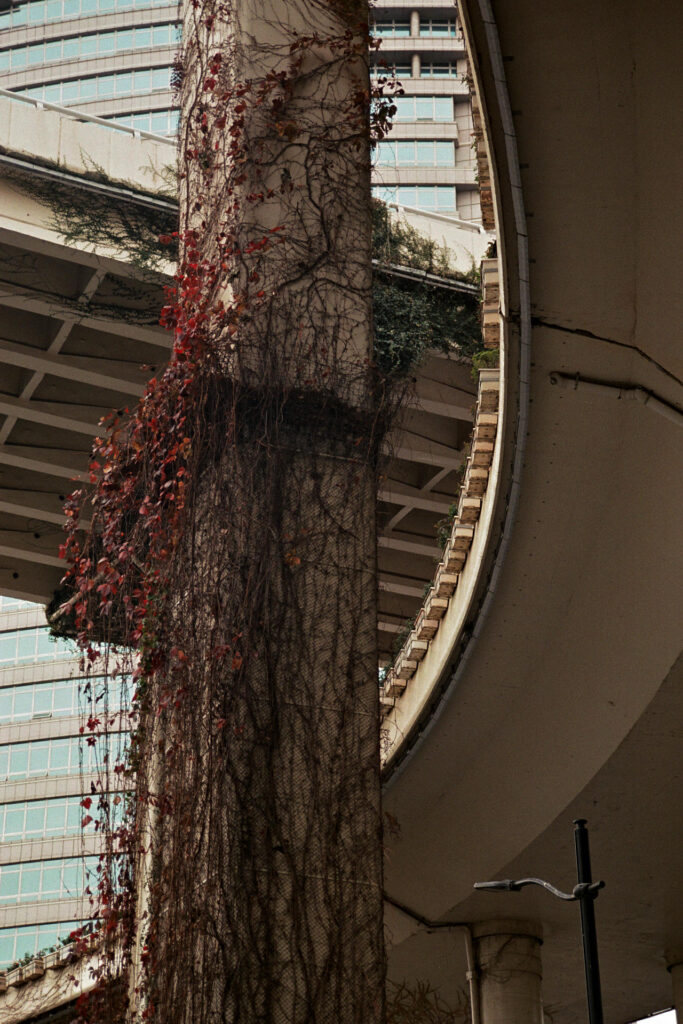
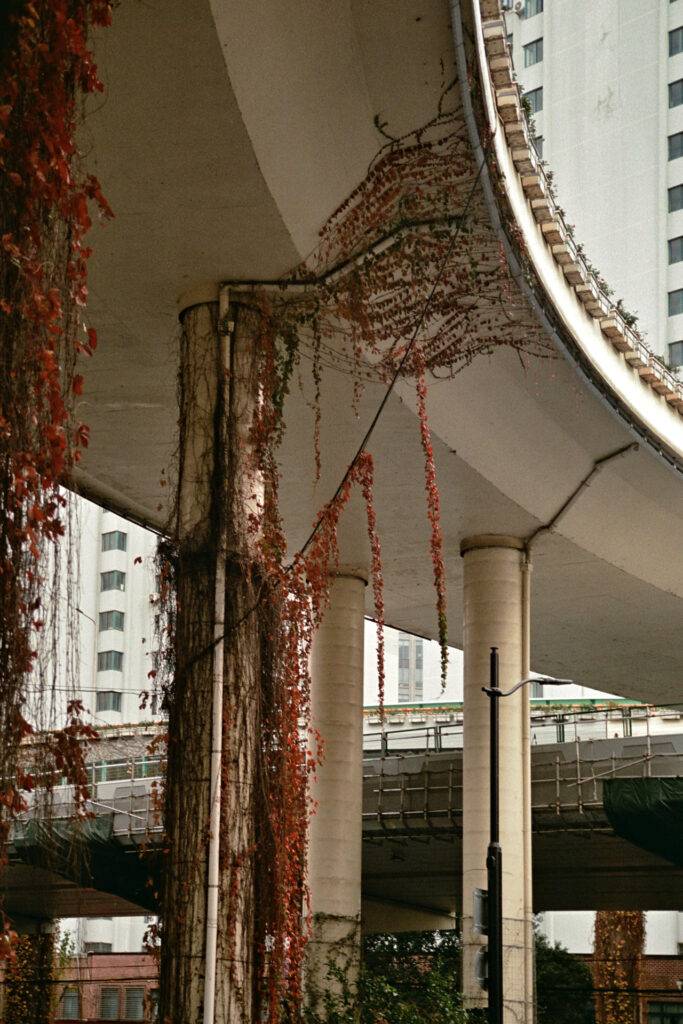
I took these under an overpass outside Shanghai’s camera mall. The sky was significantly overcast and the light was getting weaker as the sun was close to setting. The film reproduced the colours with this set up and lighting relatively accurately to the scene. I did no colour correction for the following four shots.
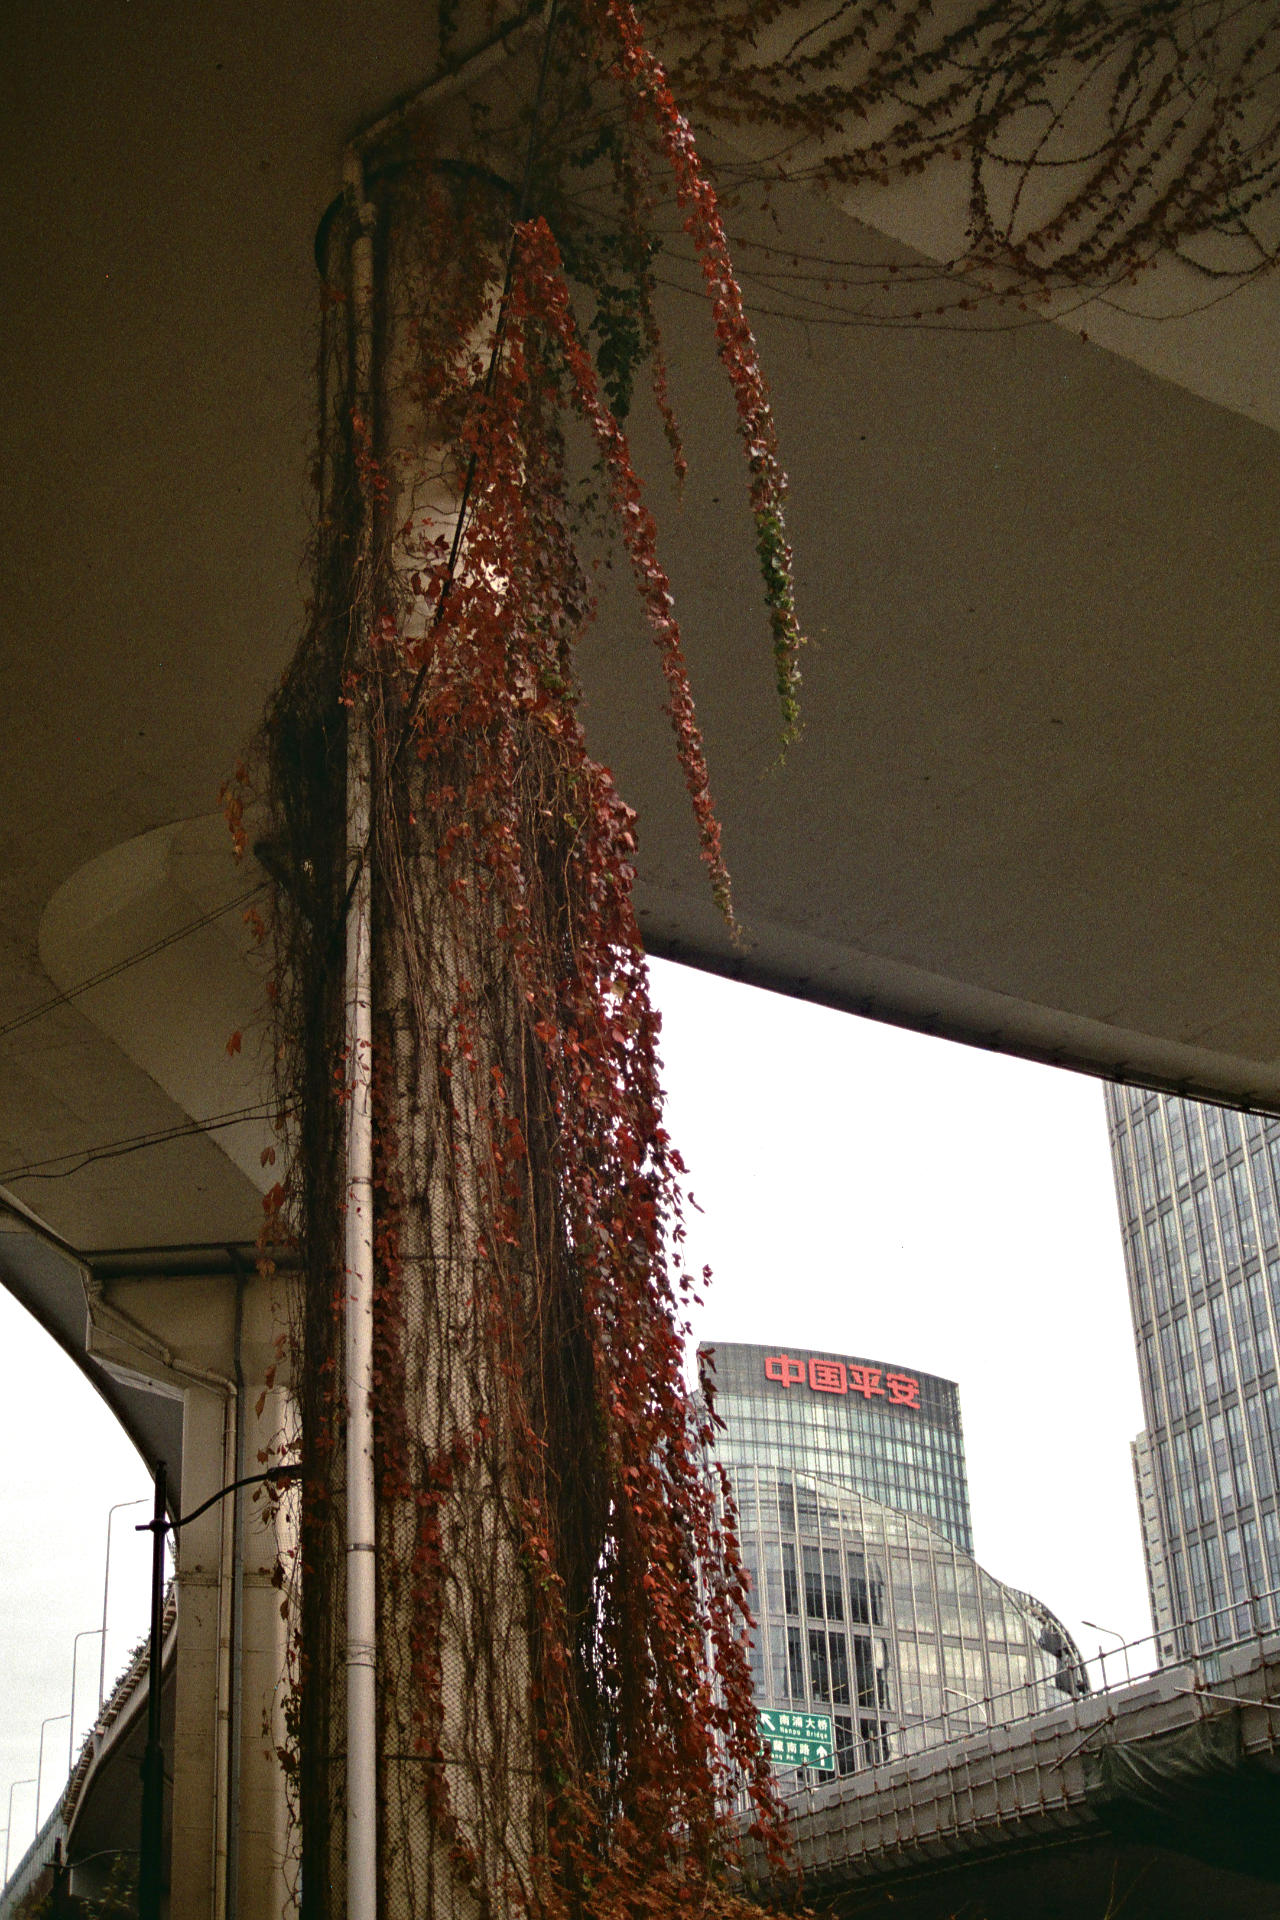
The next set of shots from Roll 1 on my Minolta A7 were taken with a Tokina 17mm f/3.5m, which is a digital era Sony A mount lens that works on the Minolta AF film system. I took these at Shanghai’s Botanical Gardens in their impressive multi-story green house and surrounds.
Very minor colour correction was performed on the following shots. A single “Selective Colour” layer was applied to all four shots.
- White Channel:
- Magenta -30%
- Yellow – 30%
- Neutral Channel:
- Magenta -5%
- Yellow -5%
The impact of this is extremely minor so I will present only the following shot with before and after corrections, where it is the most noticeable. The rest I will only post the corrected versions.


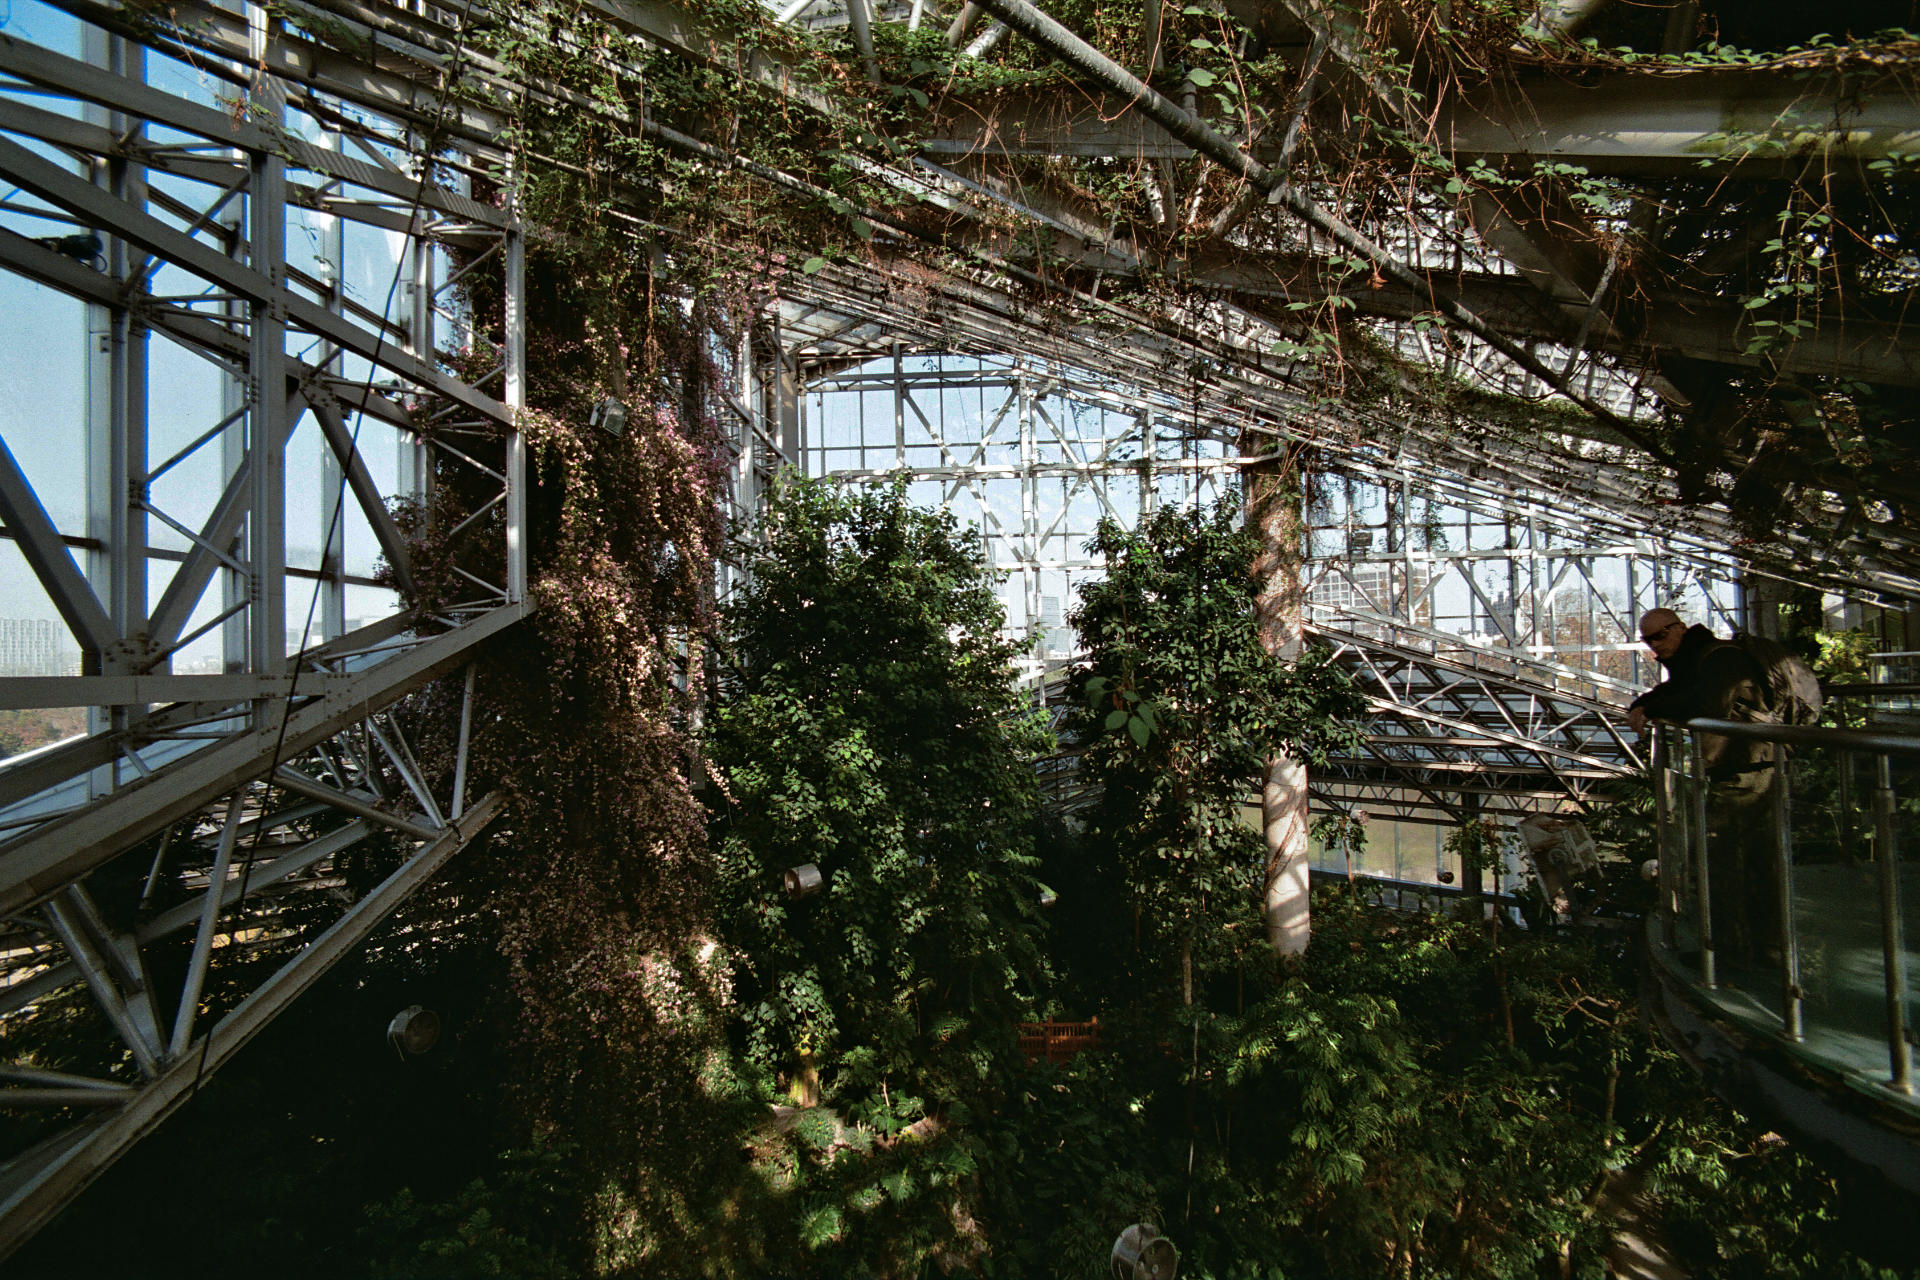


A 50% crop is provided below showing considerable sharpness in shadows and highlights even on a budget wide angle lens. It can be seen that Lucky 200 is fine grain contrary to what some other reviews online may say.


I was very impressed with this first roll. 200 was quite accurate in its colours on an overcast day and handled the challenging high contrast green house environment well.
Roll 2: Canon A-1
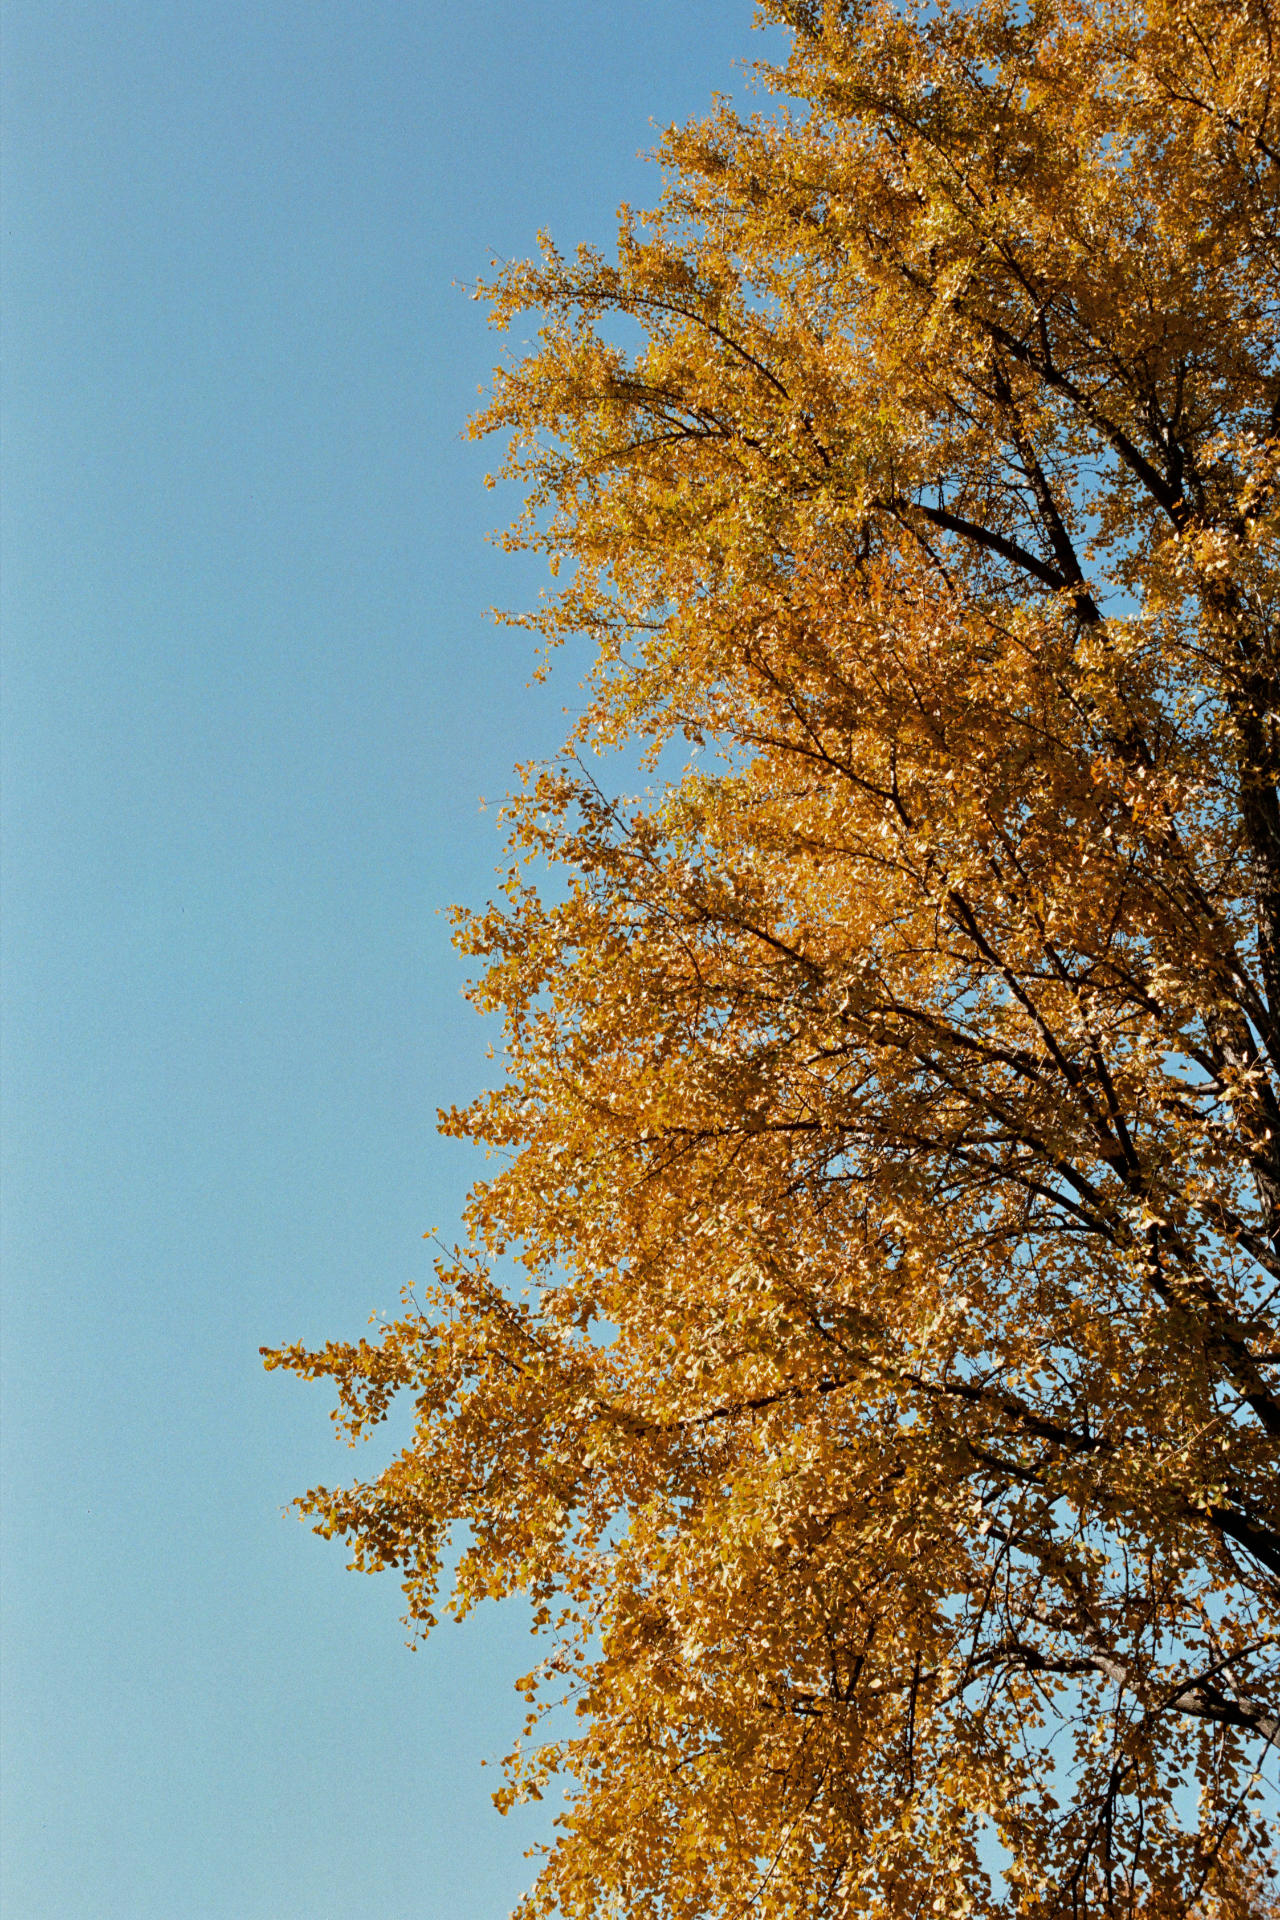
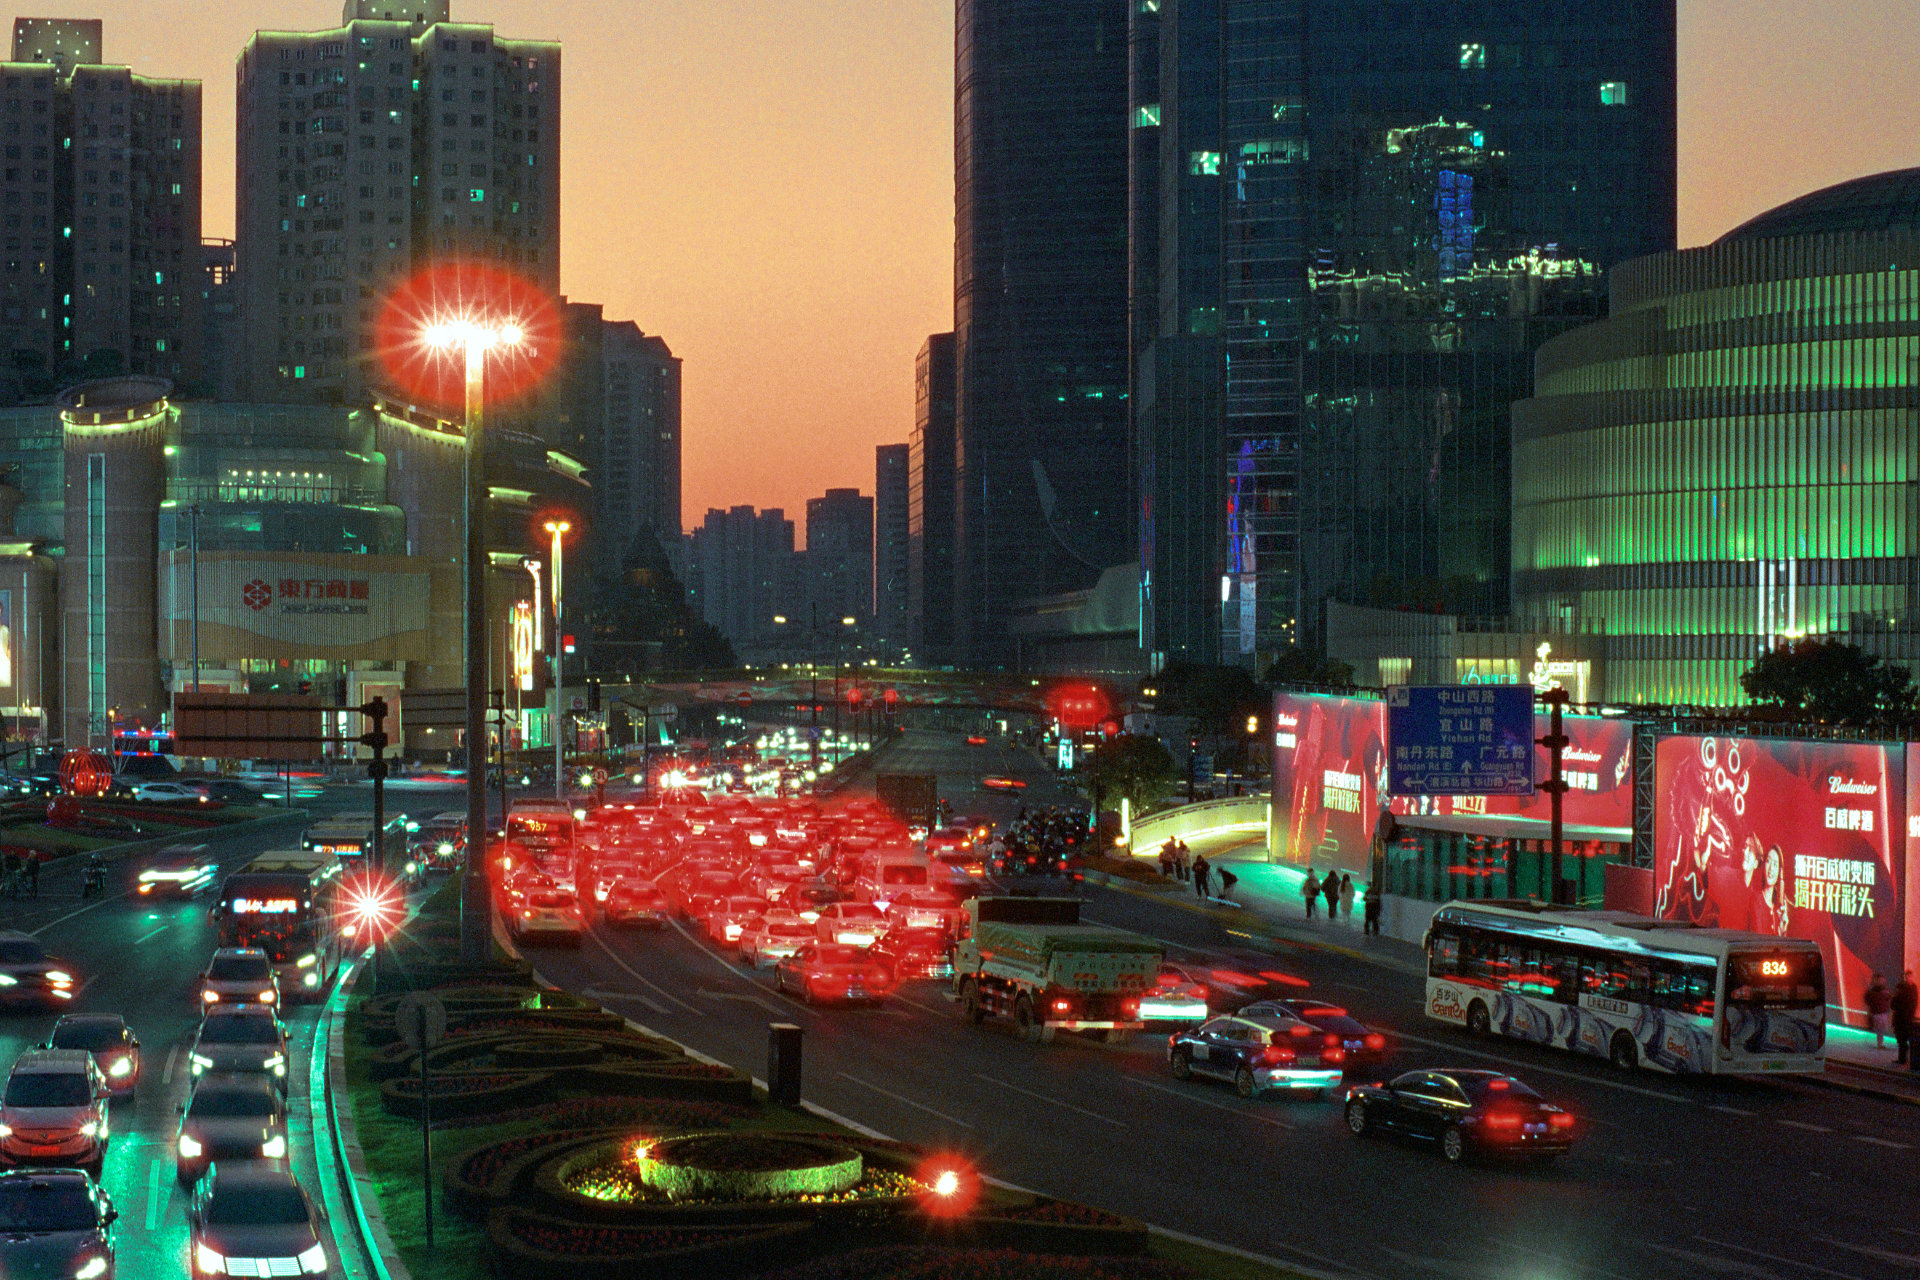
The following shots were taken on a 70’s era Tokina 28-70mm f2.8-4.3 compact zoom lens, mounted to my Canon A-1. I took them in Shanghai’s Xujiahui, which is a large intersection with mega malls, including Metro City, that allows for numerous angles for photography and urban scenes that lend well for long exposure shots.
The following four daylight shots required quite a bit more correction than Roll 1. It was an ideal “day light” environment with blue skies and clouds in the afternoon leading into golden hour. A before and after comparison is provided as the corrections were visually significant, unlike in the first roll.
A single “Selective Colour” layer was applied to all four shots.
- White Channel:
- Magenta -30%
- Yellow – 30%
- Neutral Channel:
- Magenta -6%
- Yellow -6%


The last three photos are twilight long exposures I took to show the extent to which detail in the sky is lost. These were taken after sundown when the sky was vibrant and rich with colour. I’ve had no trouble capturing such scenes with Ektar 100 or Cyberpunk 800T in the past, but unfortunately even with a flat scan, there is very little detail left to recover on Lucky 200 across all of the shots (there were a total of eight taken from various angles). These evening shots required the most colour correction of any in this article.
A single “Selective Colour” layer was applied to all three shots.
- Red Channel:
- Cyans -40%
- Yellow Channel:
- Cyans, -30%
- White Channel:
- Magenta -50%
- Yellow – 50%
- Neutral Channel:
- Cyans +30%.
This was a more complex correction compared to the daylight and overcast shots.


In comparison, a similar shot at the same location after sun down taken on Cyberpunk 800T was able to preserve the vibrance and colour of the sky, shown below. The fact it happened on all my Lucky 200 long exposures after sundown when the sky was anywhere between vibrant orange, to purple, to blue, and taken both towards and away from the sunset, makes me think that there is some limitation in the 200 emulsion for these kinds of shots.
Verdict
Pros:
- Inexpensive to purchase in China at 59RMB ($USD8.50) for 35mm variant
- Signature saturated magentas and warm colour cast, which is also easily corrected if desired with a single selective colour layer in post
- Fine grain with good sharpness
- Far more editing range than “art” films like Lomo Metropolis
- No light leaks as are common in cinema repack film such as Cyberpunk
- Attractive packaging and film cannister roll design
Cons:
- Does not handle long exposures well: skies turn a detail-less grey
- Same price in China as very competitive repack film like Cyberpunk, which are available in day and tungsten-light balances in a range of ISOs
The way that the film handles long exposures was a large issue for me due to its limited latitude. I am not a massive Kodak Ultramax 400 fan, but it does handle long exposures of night scenes far better than Lucky Color 200. The warm colour cast was not always problem and could be easily corrected, if desired, as evident in my edited scans.
Locally in Shanghai, Cyberpunk films are the same price as Lucky 200, have a variety of ISO and include halation effects, which I personally enjoy. I feel like halation effects are far more visually impactful than the saturated magentas that Color 200 offers. Cyberpunk 100D is a far cleaner and finer grain than Lucky 200 and is very neutral for editing. Likewise, Cyberpunk 400D allows for a little more shutter speed and similar fine grain as Color 200.
Where Lucky 200 has the edge over this repacked cinema film is the complete absence of light leaks, which can sometimes be found at the end of a roll on repacked film; allowing for one or two more clean frames. However, despite that, at the same price I will continue sticking to Cyberpunk films, personally simply because I want the versatility to shoot more than just day time shots. The major problem facing Lucky 200, aside from its inability to produce attractive long exposures, is therefore not related to the film itself, but its lack of advantages over equally-priced competitors.
Thus, I think the use case for Lucky 200 is for those who do not want to edit their scans at all and are leaving it up to the lab, and who also want the saturated magenta colours. If this film is more affordable for you than the myriad of repacked cinema film brands such as Cyberpunk or staples like Kodak Ultramax 400, then it could be a good daylight option with or without correction. However, I would never recommend this film for long exposure or night work in general as it is just not suited for that task. Finally, if you have a trip planned for China or Hong Kong, a roll or two of 200 could be a fun way to capture your adventures with a distinctive “Chinese” aesthetic.
If you liked the photos in this review, you can see more of my photography on my Tumblr or Instagram.
Ethical Statement: The 35mm and 120 film products featured in this article were purchased by myself with my own funds and are in no way endorsed or otherwise sponsored by the manufacturer (Lucky Film Company).