By: Letentaculerose [ Instagram ]
Foreword
By: XEONIQ [ Instagram | Tumblr ]
With the arrival of summer in the Northern hemisphere, many claim to struggle to dress in a technical style. When it is too hot to layer, you accessorize; and one of the best ways to do so it with a belt. The Casio “stealth” modification guide I wrote years ago still remains one of the most accessed and longest read articles on SHELLZINE.
Letentaculerose has been kind enough to do a complete guide on how to make one of his basic technical belts with 25mm webbing that will fit in any pair of pants with belt loops. Even if you don’t have a technical style to your dress, the belt itself would pair well with the minimal Casio F series watch I taught how to modify in my own guide. Being lightweight and plastic its ideal for travel and won’t set off metal detectors or be uncomfortable to wear when its warm out.
Letentaculerose is a long time cyberpunk and techwear fan in the community with a career as a sonar operator on nuclear-armed submarines in the French navy.

I think if you have a sewing machine, or access to one, this could be a good project to try this summer. The guide Letentaculerose wrote is easy to follow and you could use any buckle or webbing you wanted. The belt he created in his example actually has a rather unique and technical look to it and fit well in all my pants.
1. Tools and Materials
Before you start you’ll need to prepare the following tools and materials.
Tools:
- Sewing Machine
- Machine Needle Size 90
- Ruler
- Scissors
Materials:
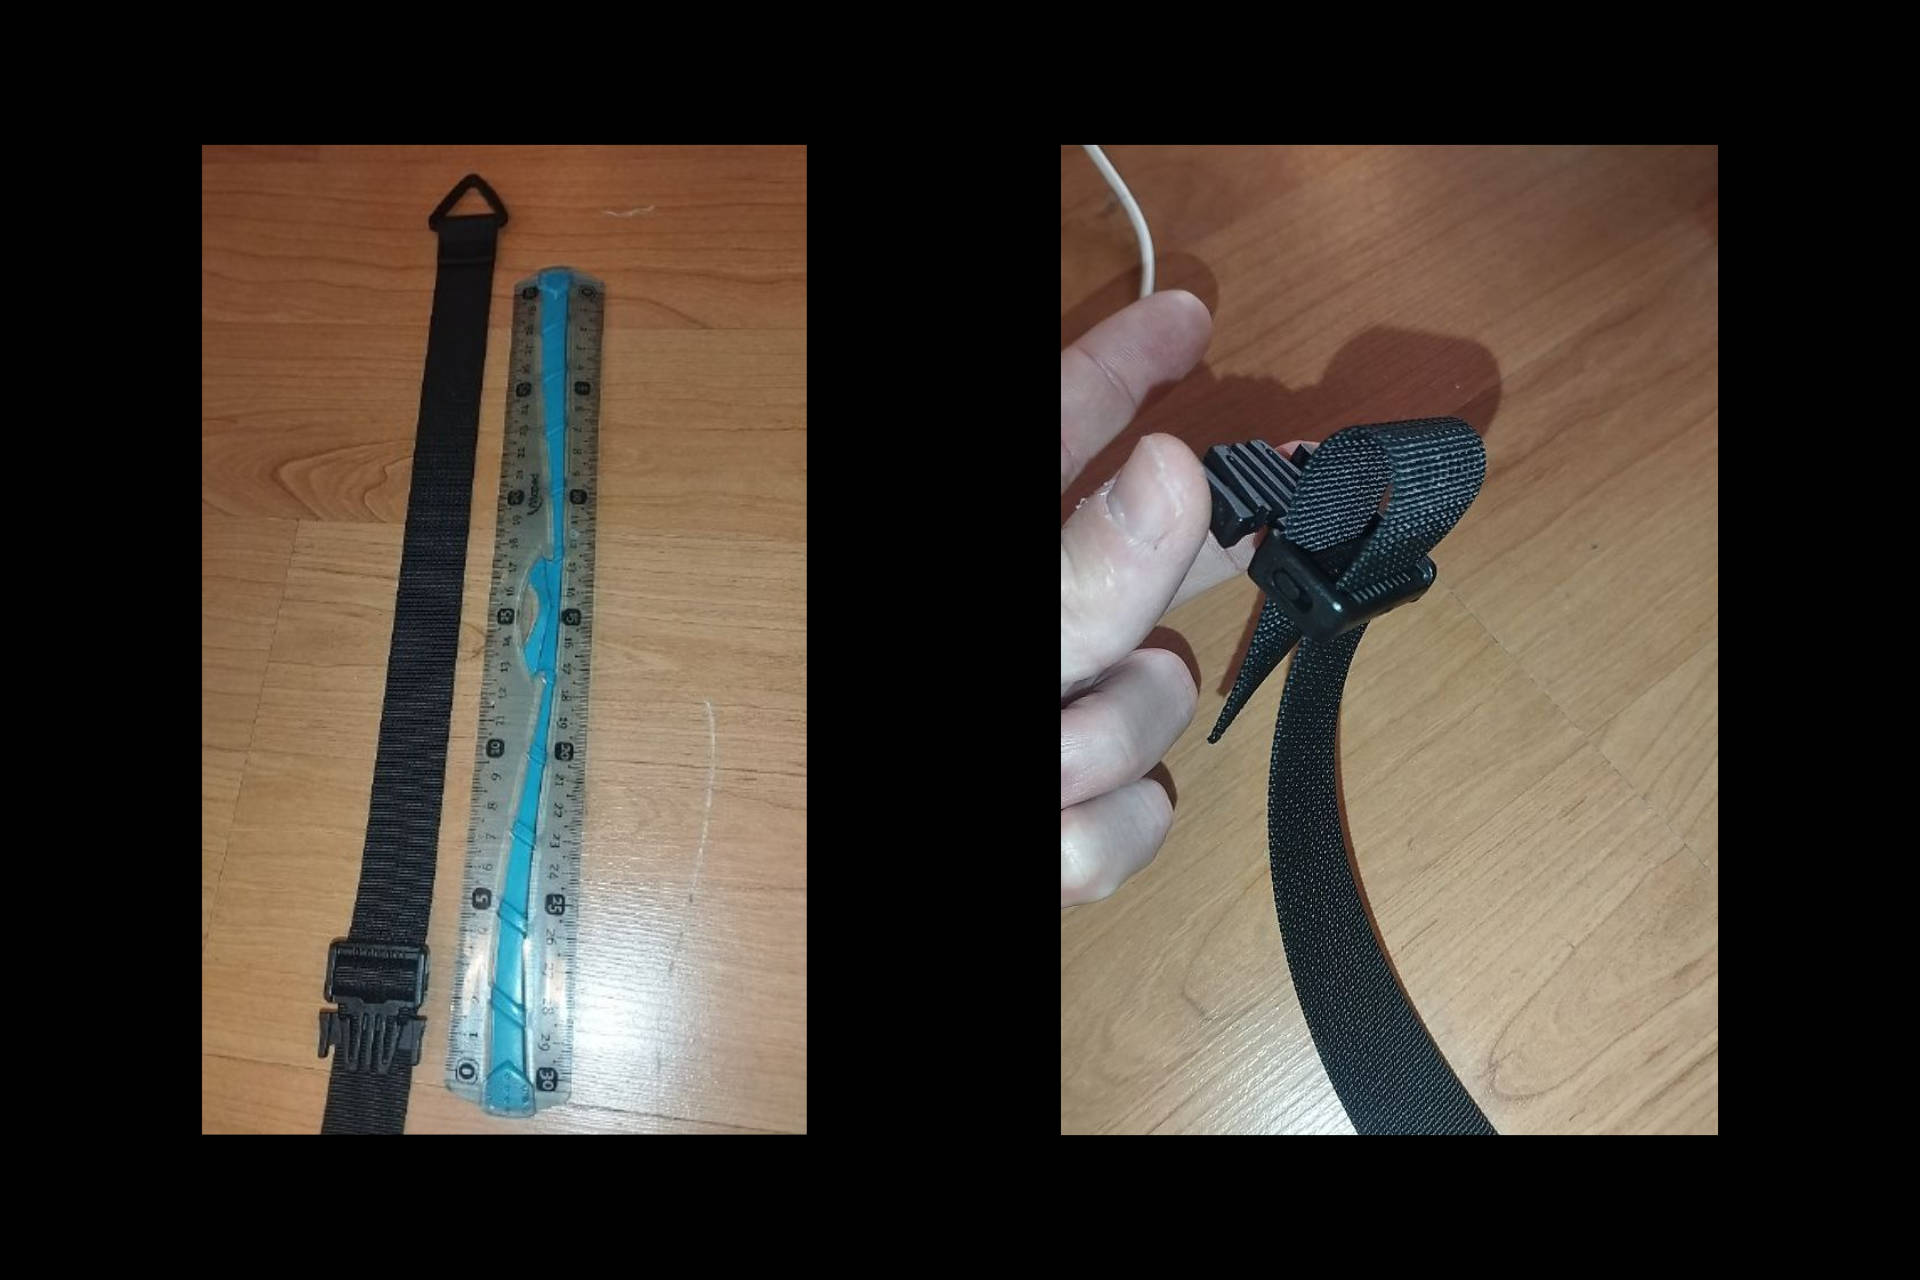
- 1 Technical Buckle with a 25mm width.
- 2 Triangle Rings or D-Rings
- Belt keeper (optional)
- 130cm or more of 25mm black nylon webbing
- Black nylon sewing thread
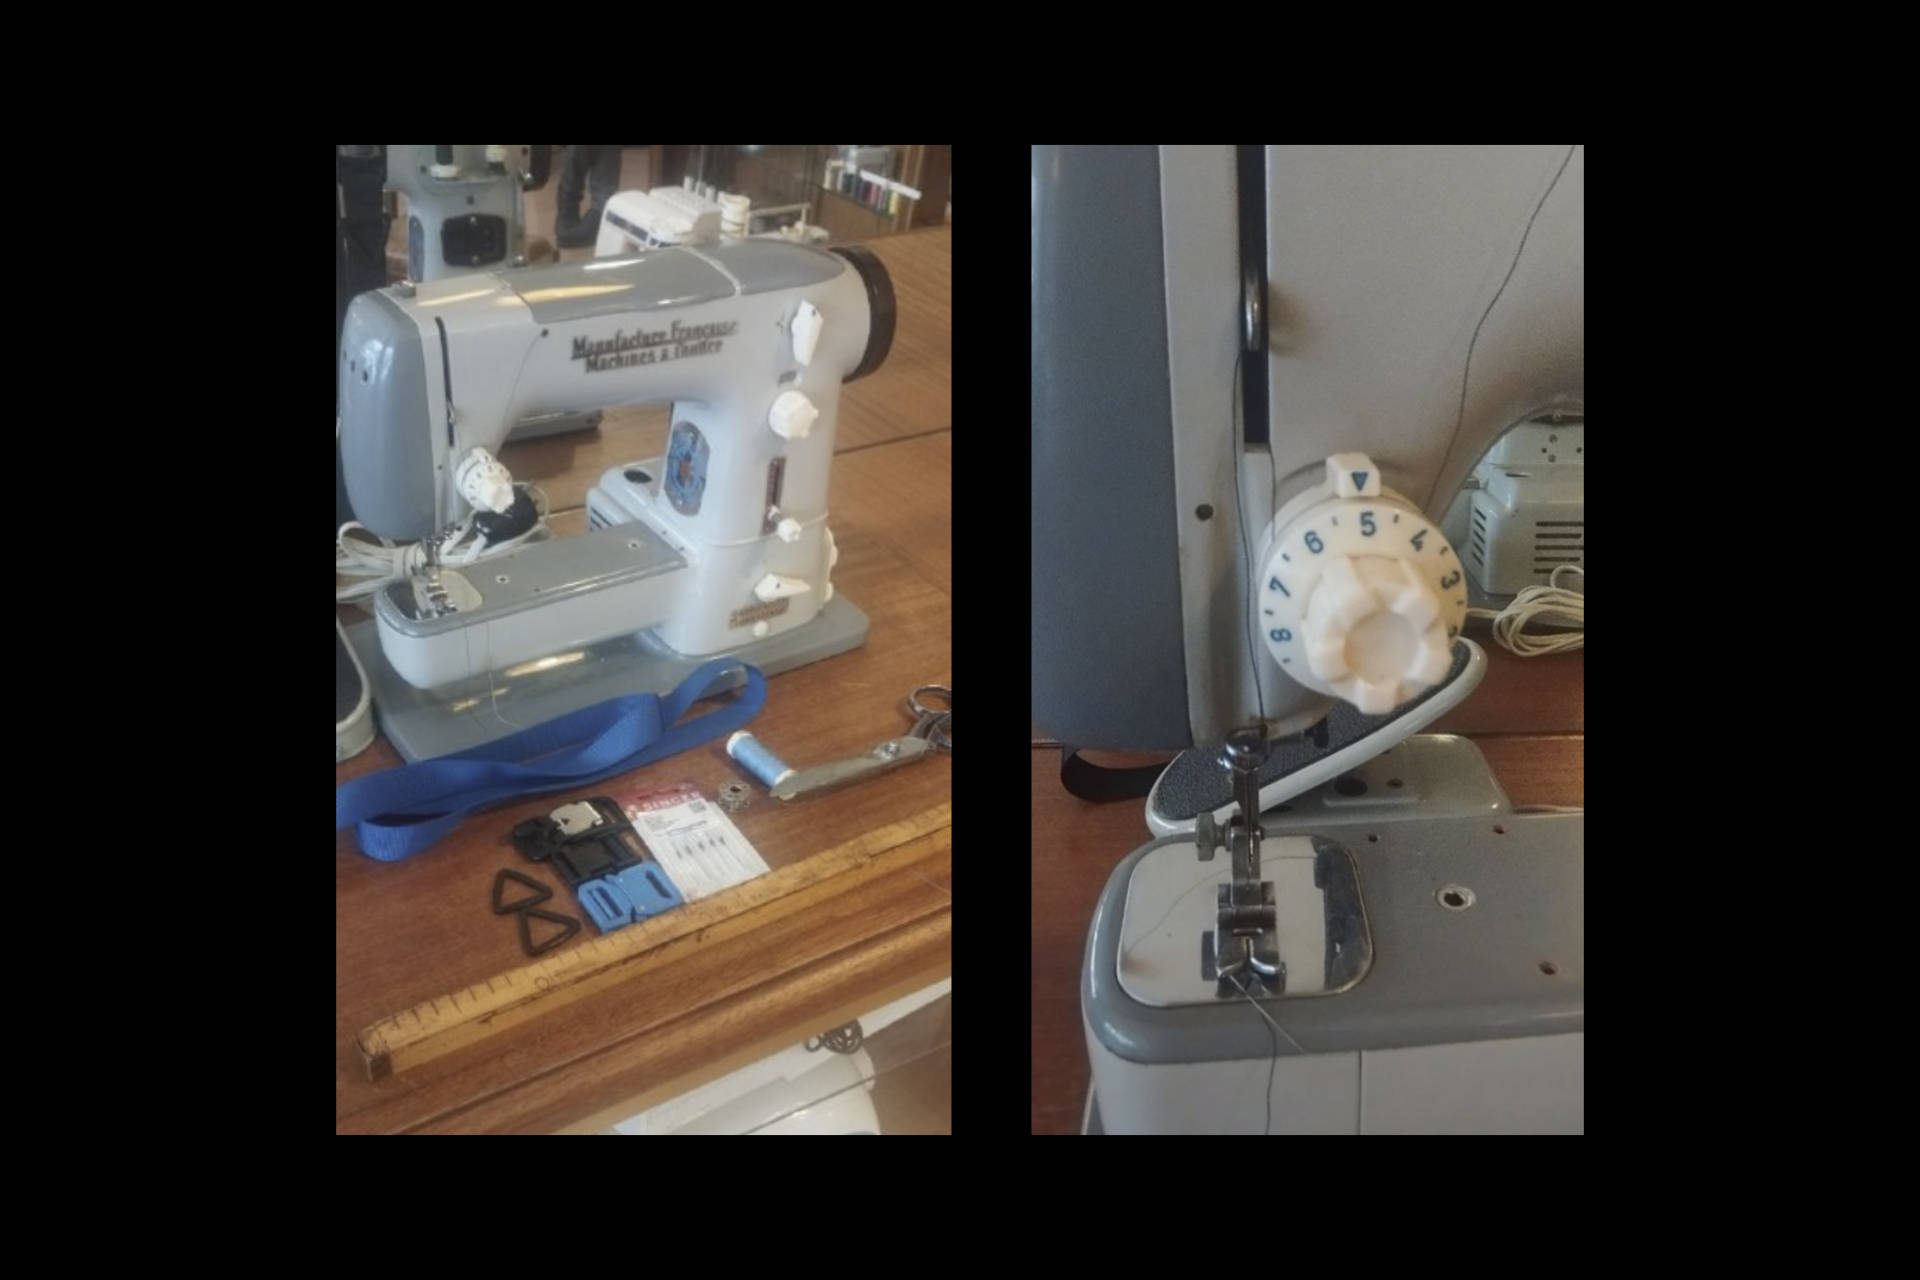
Regarding the sewing machine settings: It’s essential to have a needle installed, with sizes 70, 80, 90, or 100 being suitable. However, size 90 is optimal for thinner nylon webbing in my experience. Tension settings will vary depending on the machine’s model and also its condition. Typically, tension adjustments are made on-the-fly based on the stitching results observed. If the thread appears to be stretching poorly, the machinist will consider slightly increasing the tension. There is no universal setting that will work on all machines. On my sewing machine, I usually set the tension to 5, but on other models, settings between 3 and 4 may be more appropriate. These adjustments are fine-tuning measures rather than critical changes.
If you need guidance on using a sewing machine, please check one of the many insightful guides on YouTube.
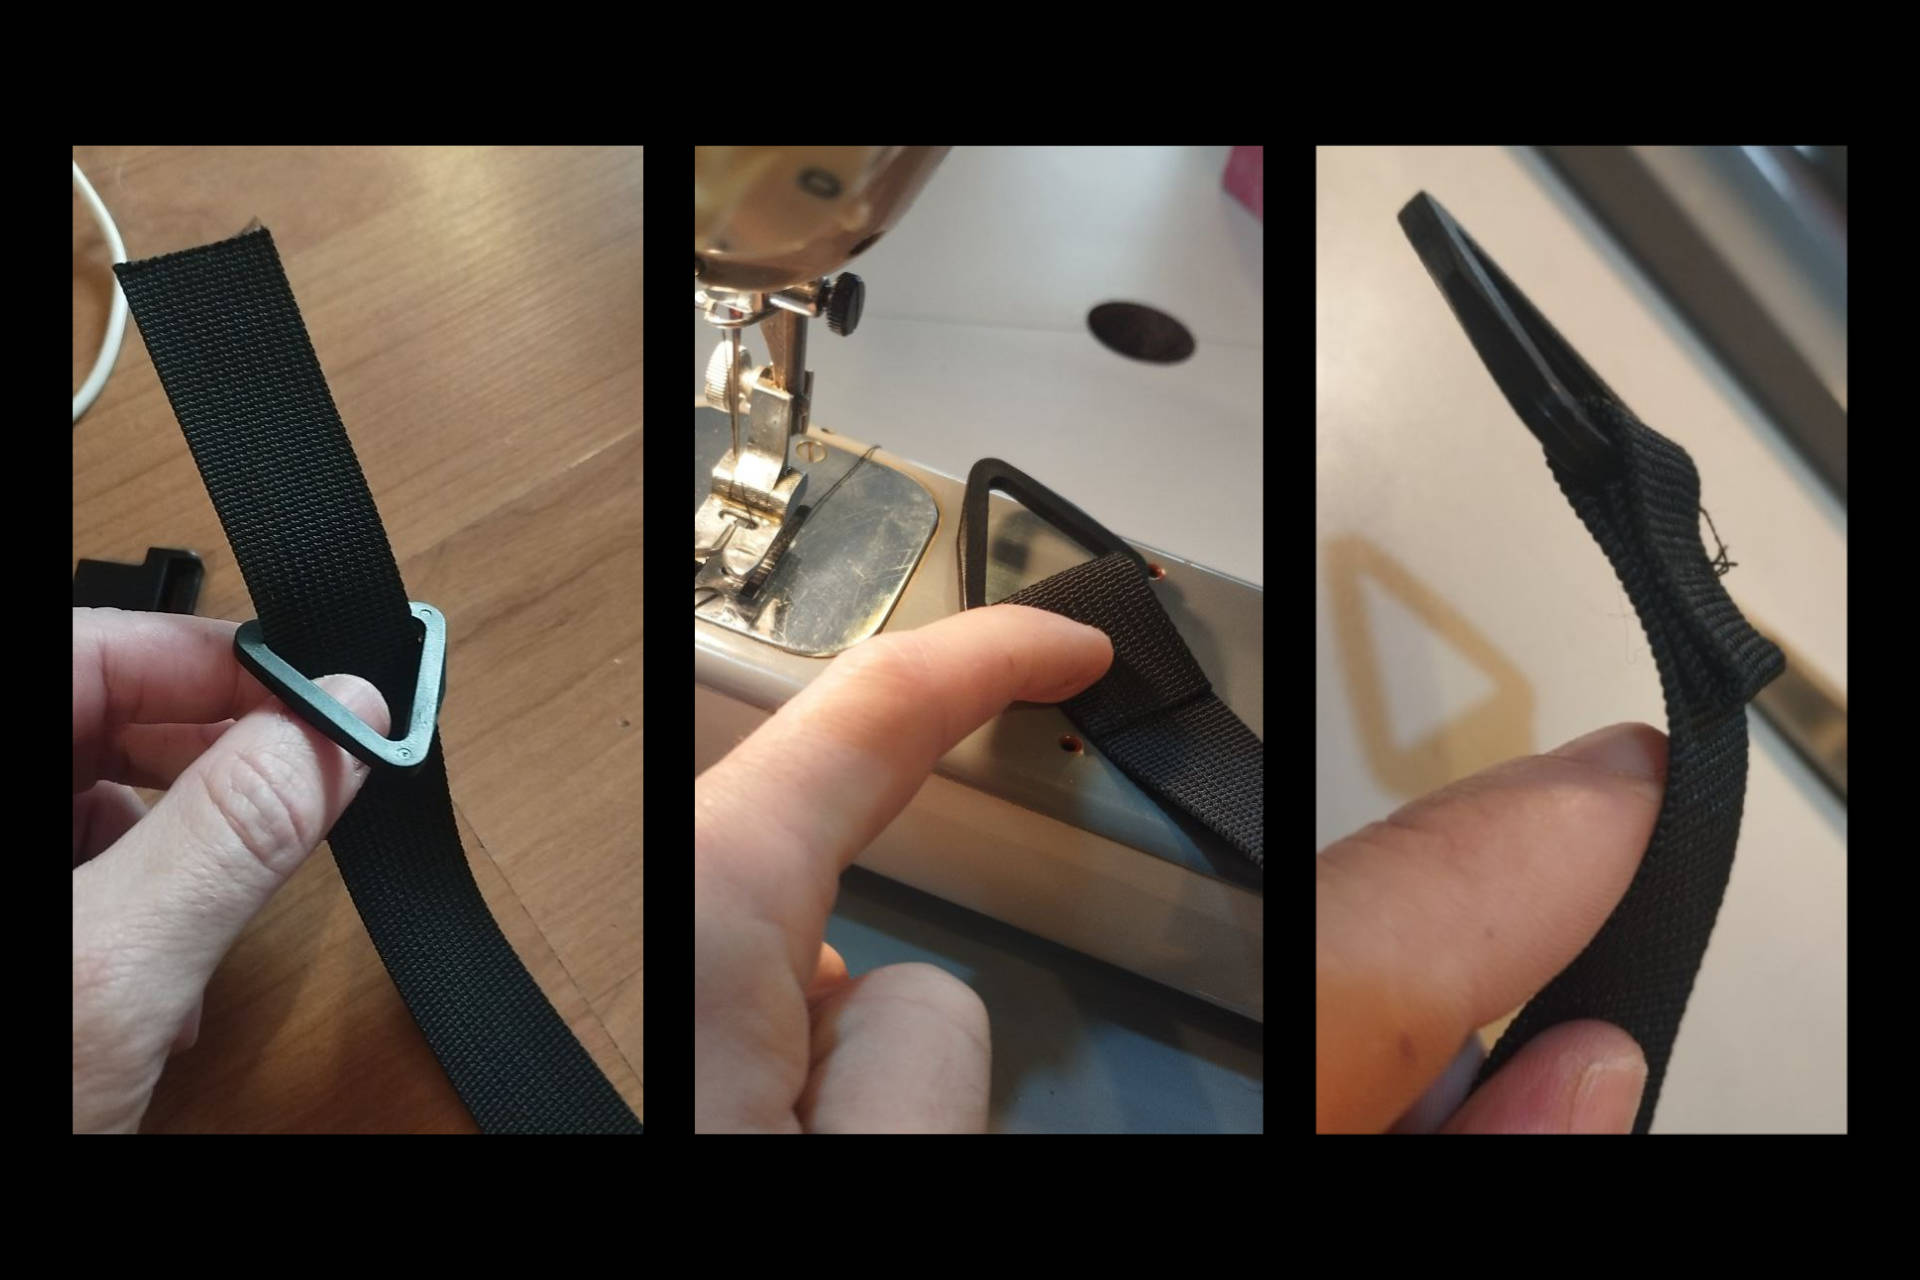
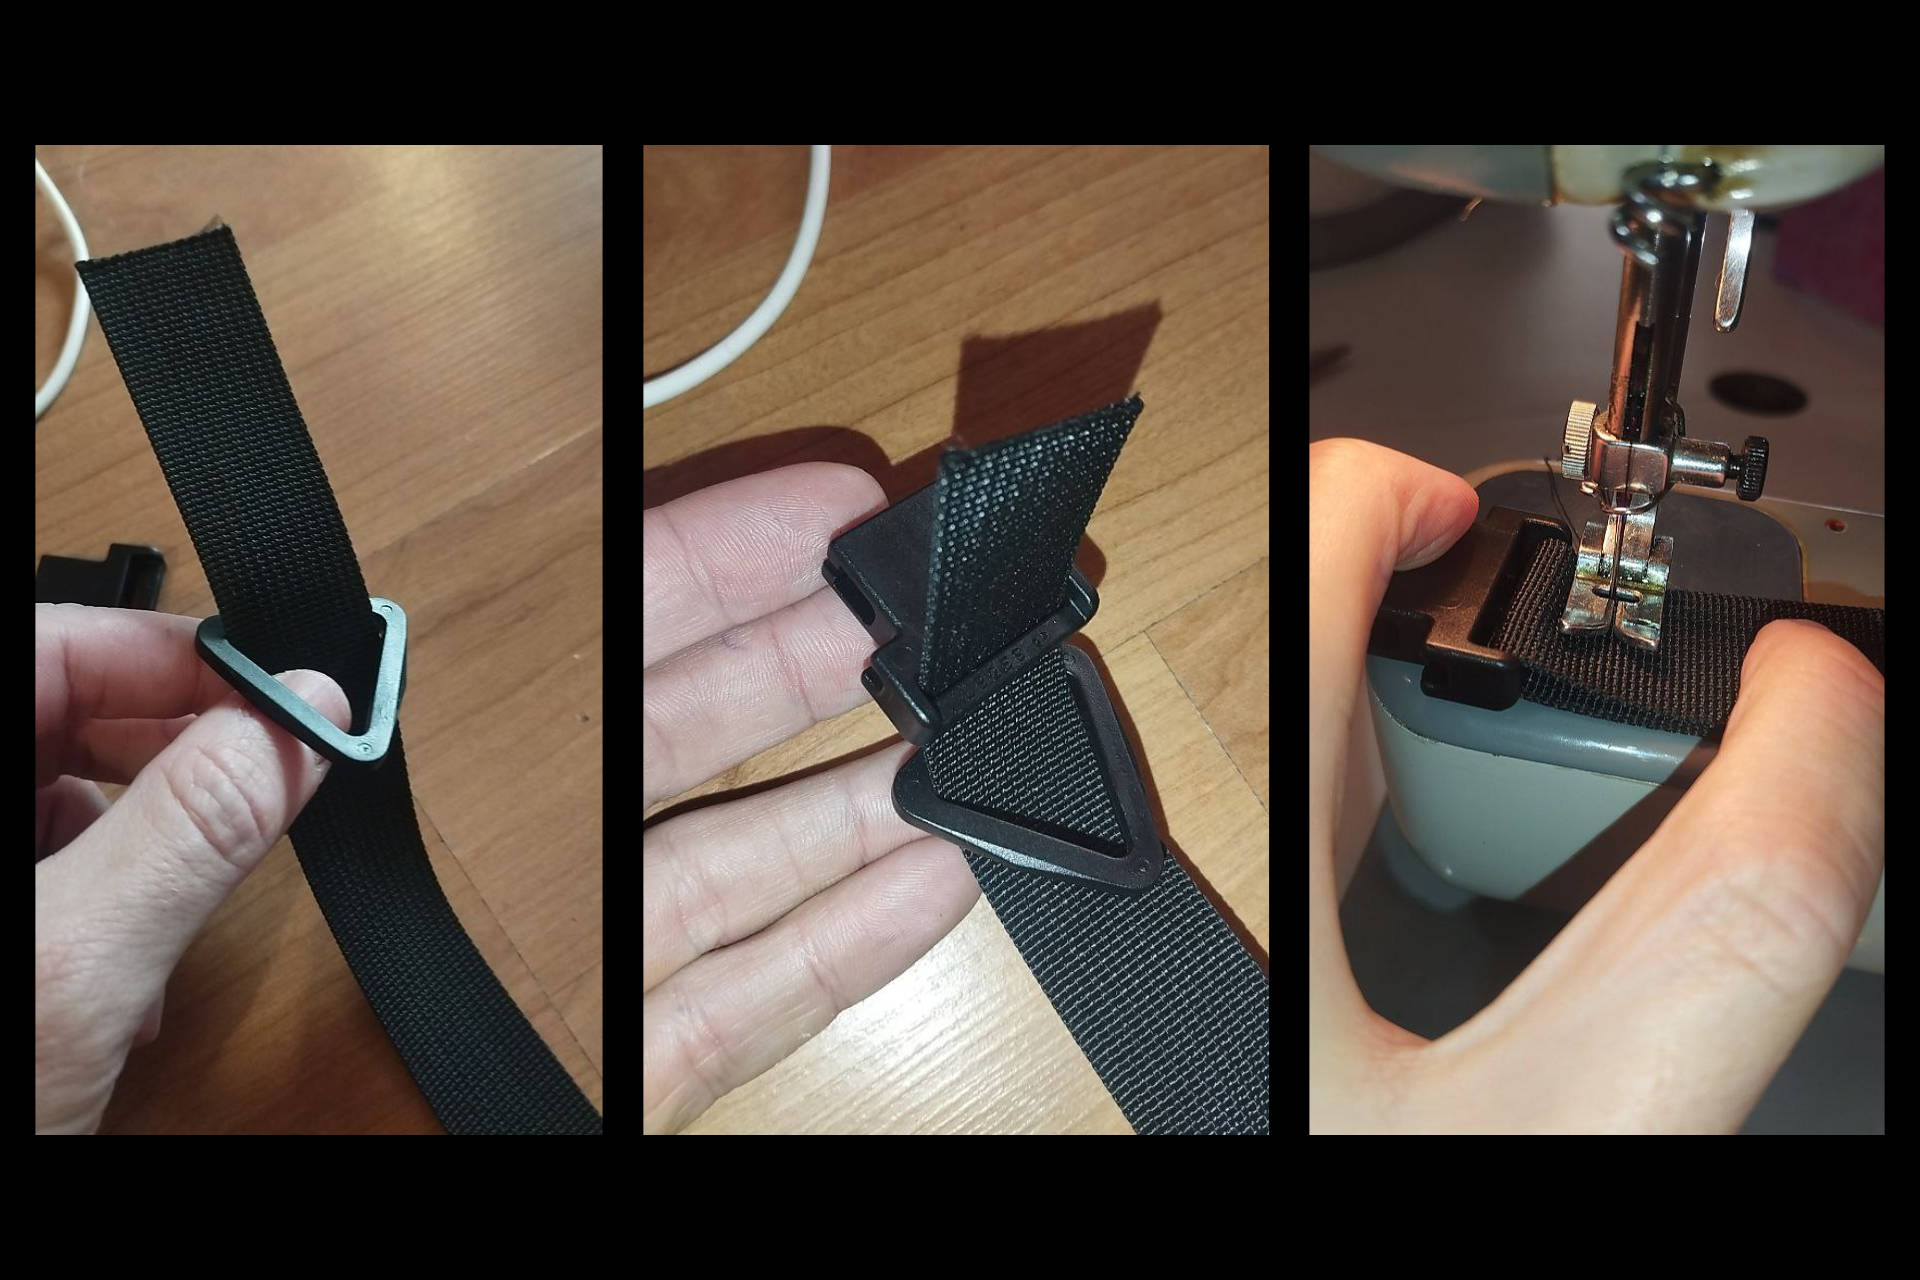
2. Attaching and Sewing the End Triangle Ring
In this step you will sew the triangle ring or D-ring to one of the ends of your belt.
- Thread the first triangle ring or D-ring through the webbing (left image below)
- Double fold the webbing and hold the webbing down in place on top of the sewing machine plate (middle image below)
- Sew the folded webbing down (right image below)
3. Aligning the Male Buckle Component
The male part of the buckle has to be aligned correctly in the right orientation and length relative to the end you just sewed into the webbing.
- Extend the webbing out flat with the triangle ring or D-ring you’ve sewn in facing up (left image below)
- Thread the male buckle component through the webbing.
- Make sure it is oriented facing downward as per the photo as it MUST point away from the triangle ring or D-ring end you have sewn in the previous step (left image below)
- Position the male buckle component 30cm from the triangle ring or D-ring end.
- Note: if you do not want the belt to have a dangling section of webbing hanging from your waist band, you could make this section 10cm long or however long you like. Remember if you make it too short though there will be almost no room for adjustment.
4. Aligning and Sewing the Female Buckle Component
The female component of the buckle and the second triangle ring or D-ring are inserted and sewn in in this step.
- Thread the second triangle ring or D-ring into the webbing (left image below)
- Thread the female buckle component through the webbing with the rear side visible. Be careful with this step because many errors are made here and follow the photography (middle image below)
- Thread the female buckle component along the webbing to approximately match your waist measurement. For instance, if your waist is 80cm, ensure that the distance between the female and male buckle components is approximately 80cm. The male component includes an extra 30cm of webbing for further adjustment. Verify the fit by wrapping the webbing around your waist and adjusting the female component until the buckles connect comfortably.
- Double check that the correct side of the female buckle component is in place and then sew it down with a small margin of a few mm (right image below)
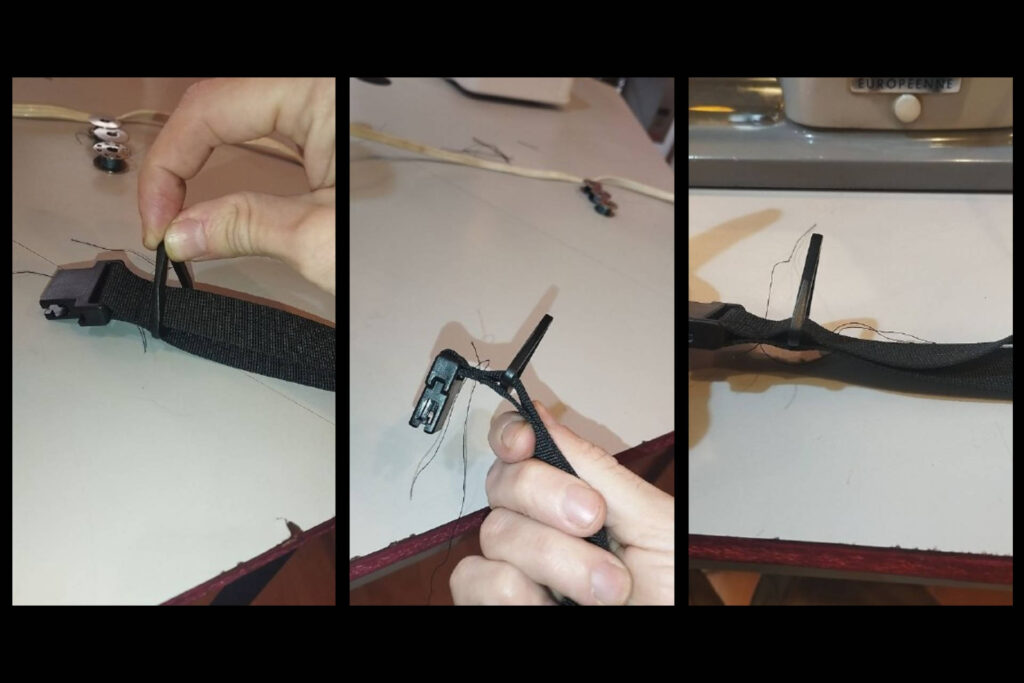
5. Installing and Sewing in the Second Triangle Ring
The second triangle ring or D-ring is sewn into place in this step.
- Position the second triangle or D-ring so that it is at the seam of the female buckle component you just sewed (left image below)
- Hold the triangle ring or D-ring between your fingers (middle image below)
- Sew a new seam to capture the triangle ring or D-Ring in place (right image below)
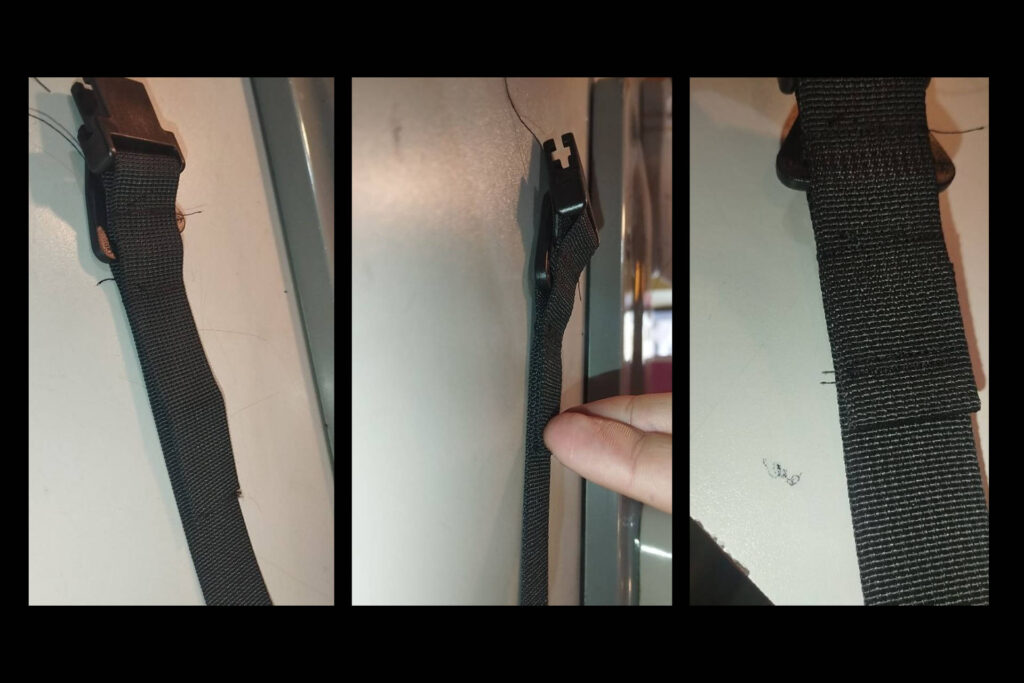
6. Sewing Rear Excess Webbing Down
The excess webbing length is now cut, extra material is sewn down and any final finishing is performed.
- Turn the belt over and cut the extra webbing off until around 7 or 8cm remains (left image below)
- Make a double fold and hold it down with your finger on the sewing machine plate (middle image below)
- Sew this fold down (right image below)
7. Finishing and Adding the Belt Keeper
Finishing the belt by removing excess threads with a scissor and/or burning the nylon threads. A belt keeper may also be added as an optional step you don’t want the excess webbing length to dangle from your waist band.
- Check the entire belt for loose threads
- Use a sharp scissor to cut the these extra threads shorter and then use a lighter to burn the nylon so that it does not fray
- Thread the belt keeper through the webbing (left image below)
8. Finished
Enjoy your new basic technical belt. You can also experiment with different buckles, different webbing colours and widths. Practice makes perfect when it comes to sewing. If you first belt looks a little rough, you can cut the hardware out and try again until you are happy with the result.
Afterword
By: XEONIQ [ Instagram | Tumblr ]
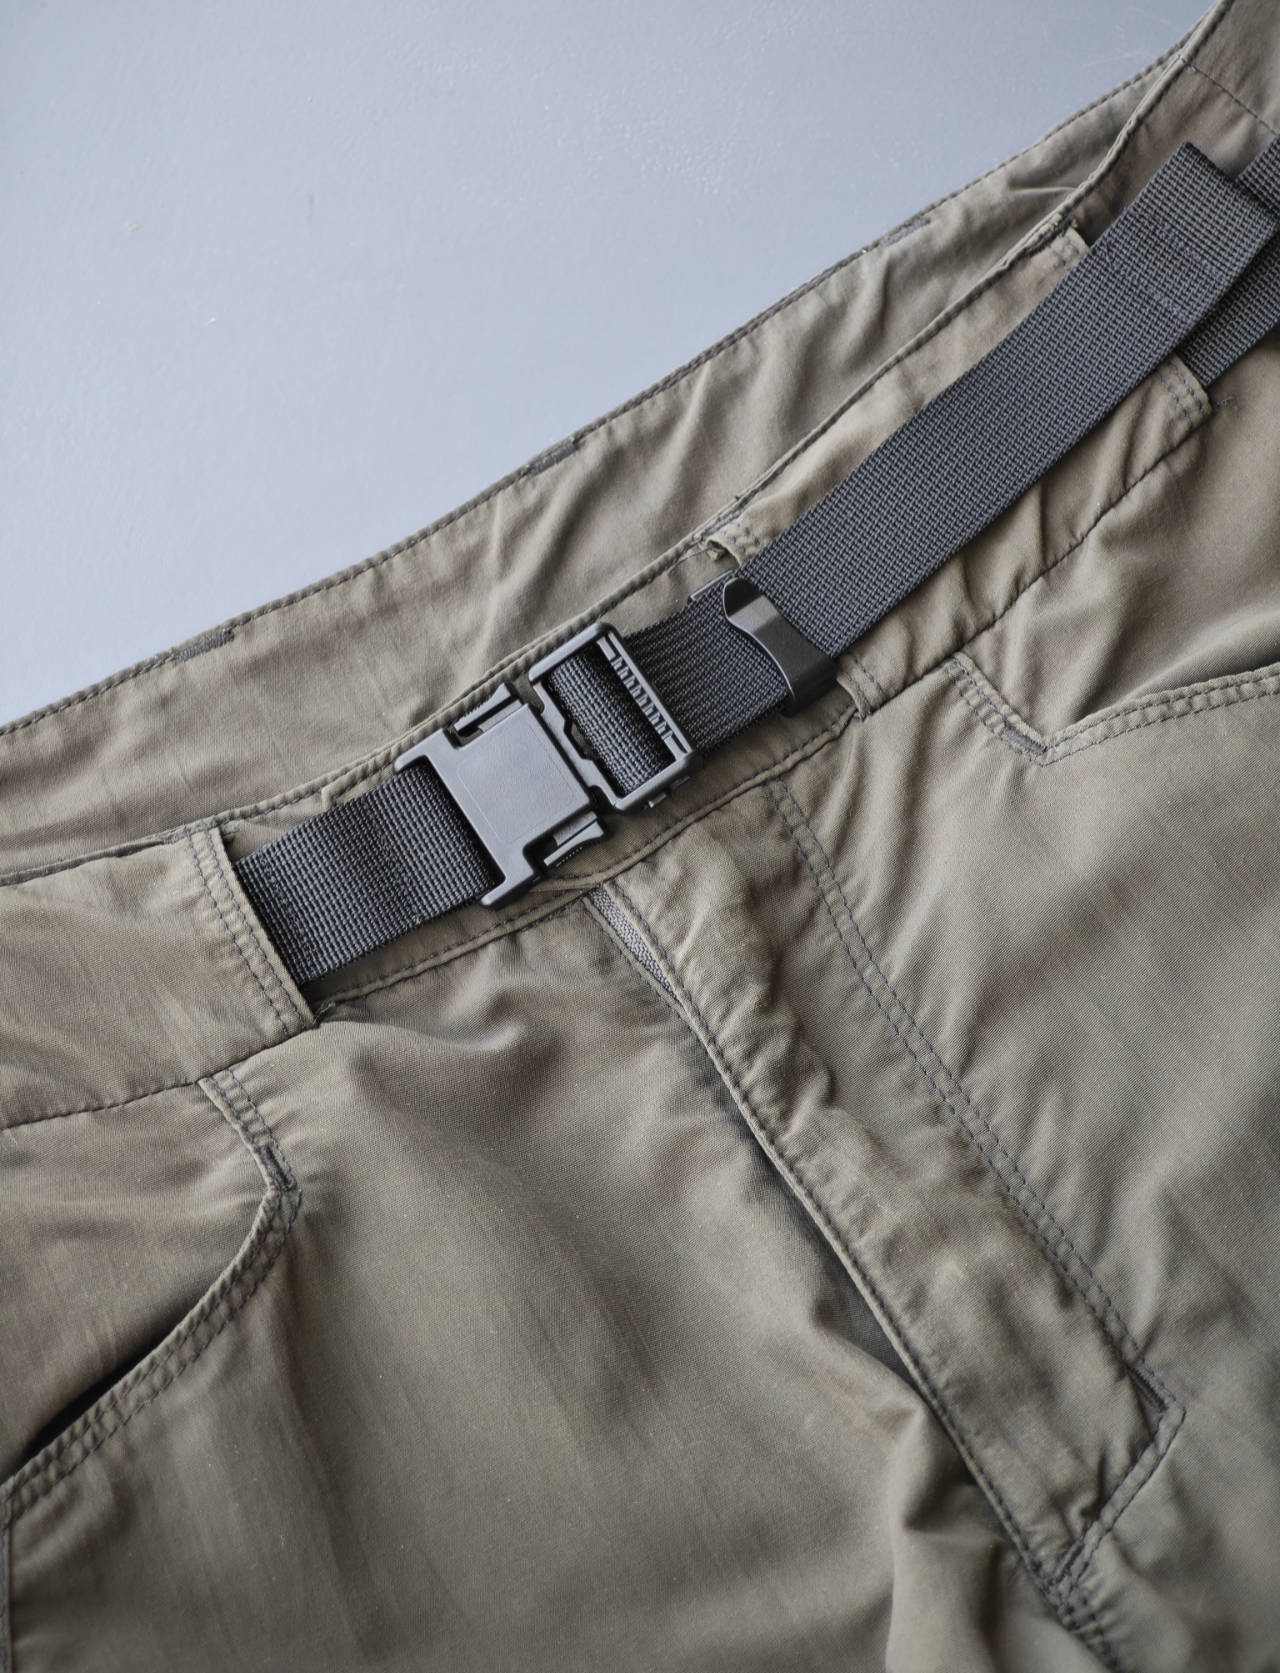
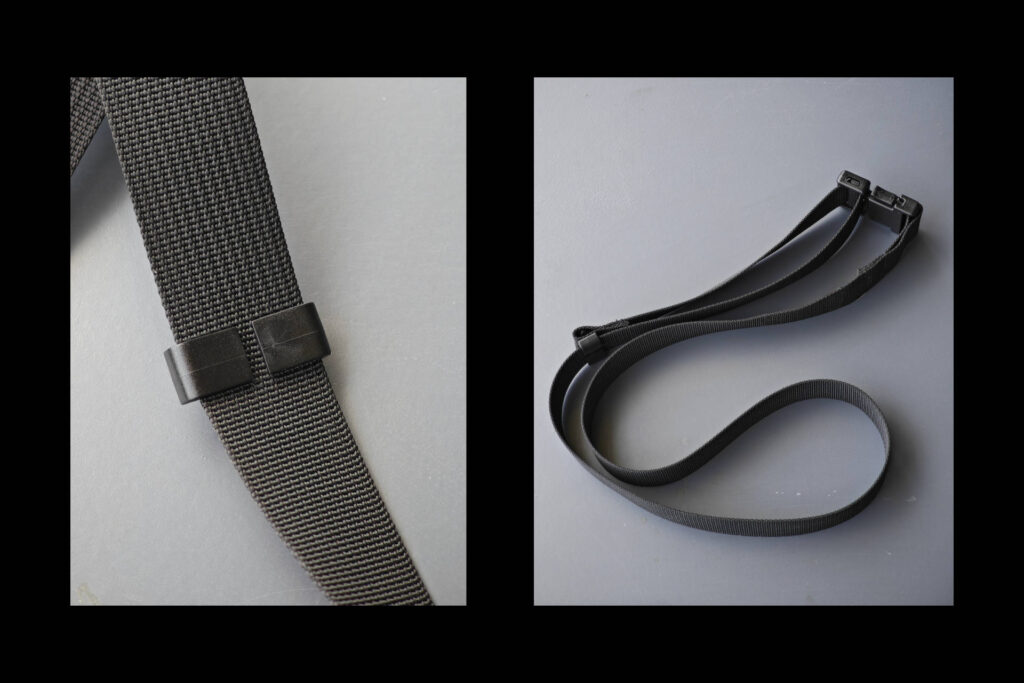
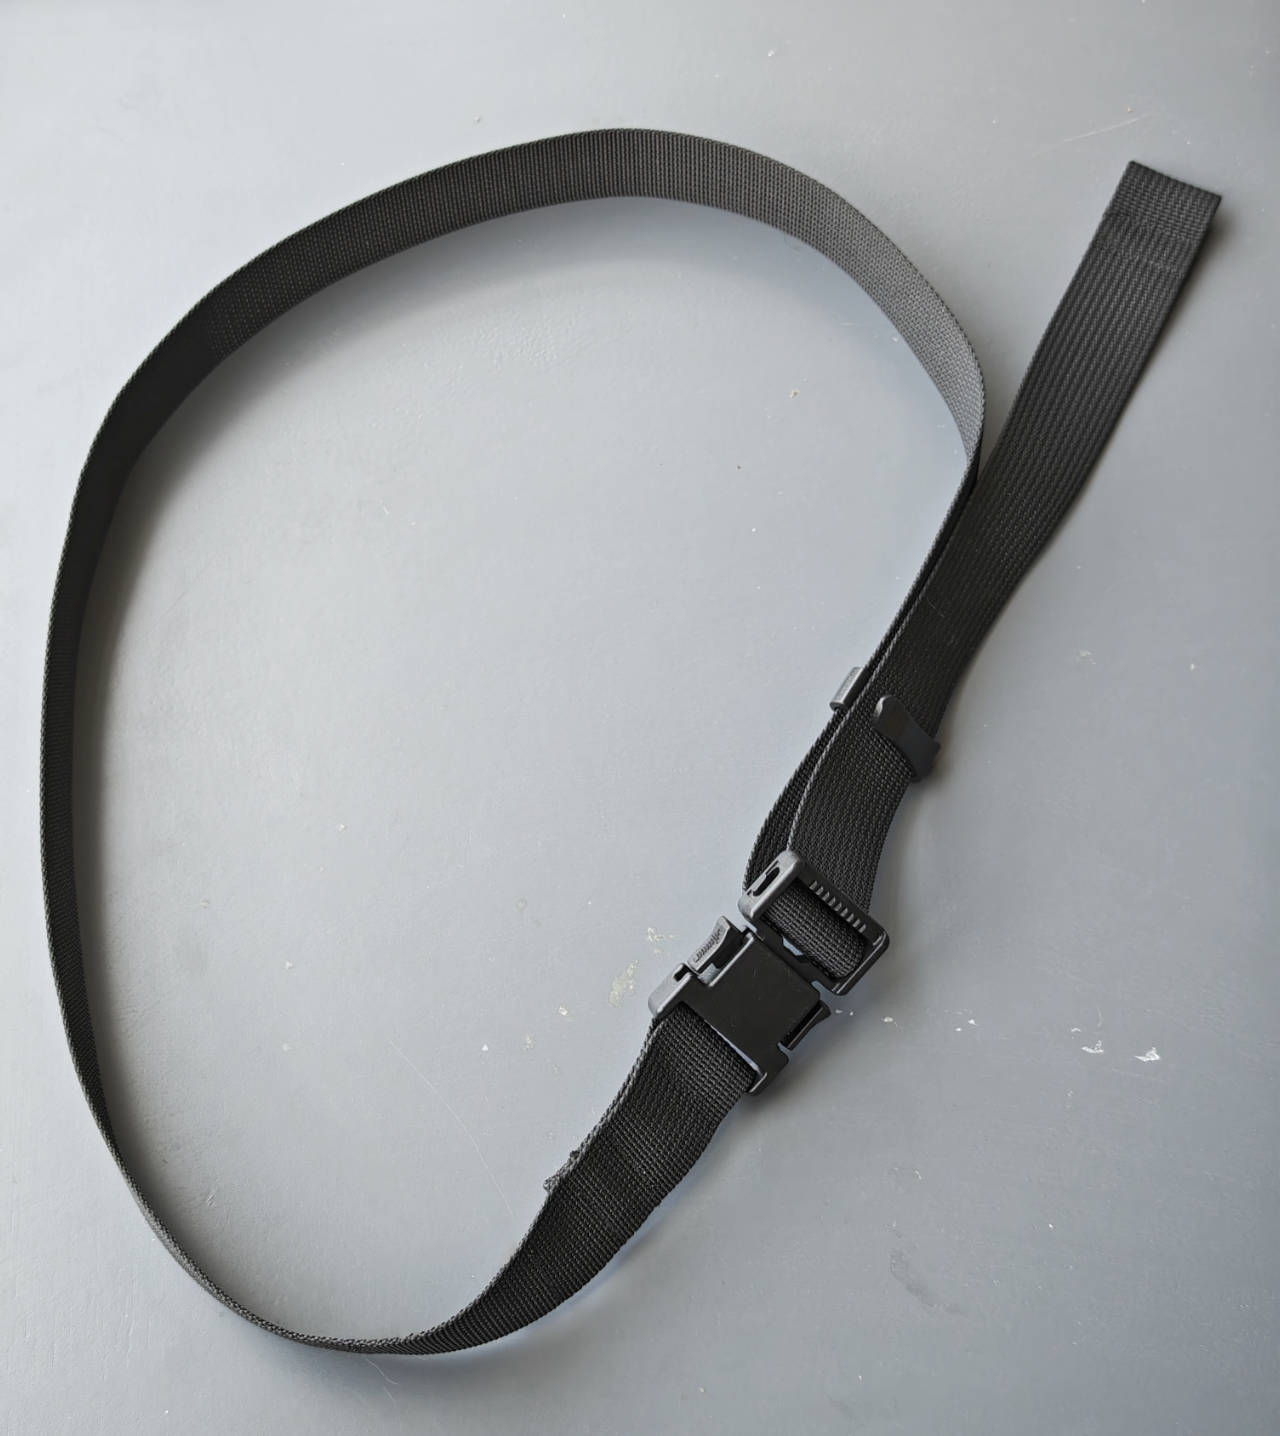
This is one of the finished basic belts that Letentaculerose has sent me.
I personally don’t like extraneous hardware beyond the buckle as it adds weight and can be bumped into awkward positions while wearing the belt. Simple is best, for me. So what I did was I clipped the triangle rings on just one side in the centre. That way, I could attach or remove the triangle ring as I liked. While this makes for a very basic belt on its own, I feel it wears better in pants. The little loop that is left behind by the removed triangle ring at the belt’s end can also be tethered on the beltkeeper’s prong to keep the belt completely flush.
After publishing the Casio watch modification guide, I have had dozens of requests over the past few years by readers to make one of the watches for them. Unfortunately, I never had and still don’t have the time to do so. Luckily, Letentaculerose does is able to make customised belts for you, simply reach out to him on his Instagram.
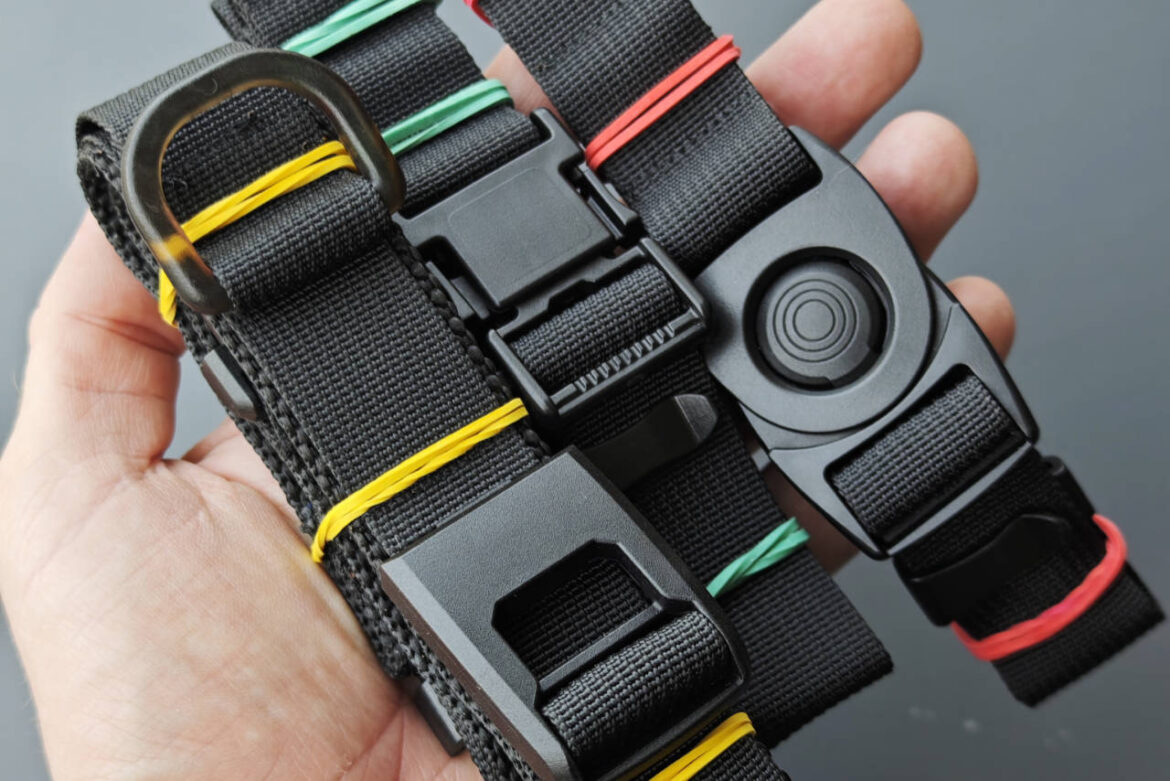
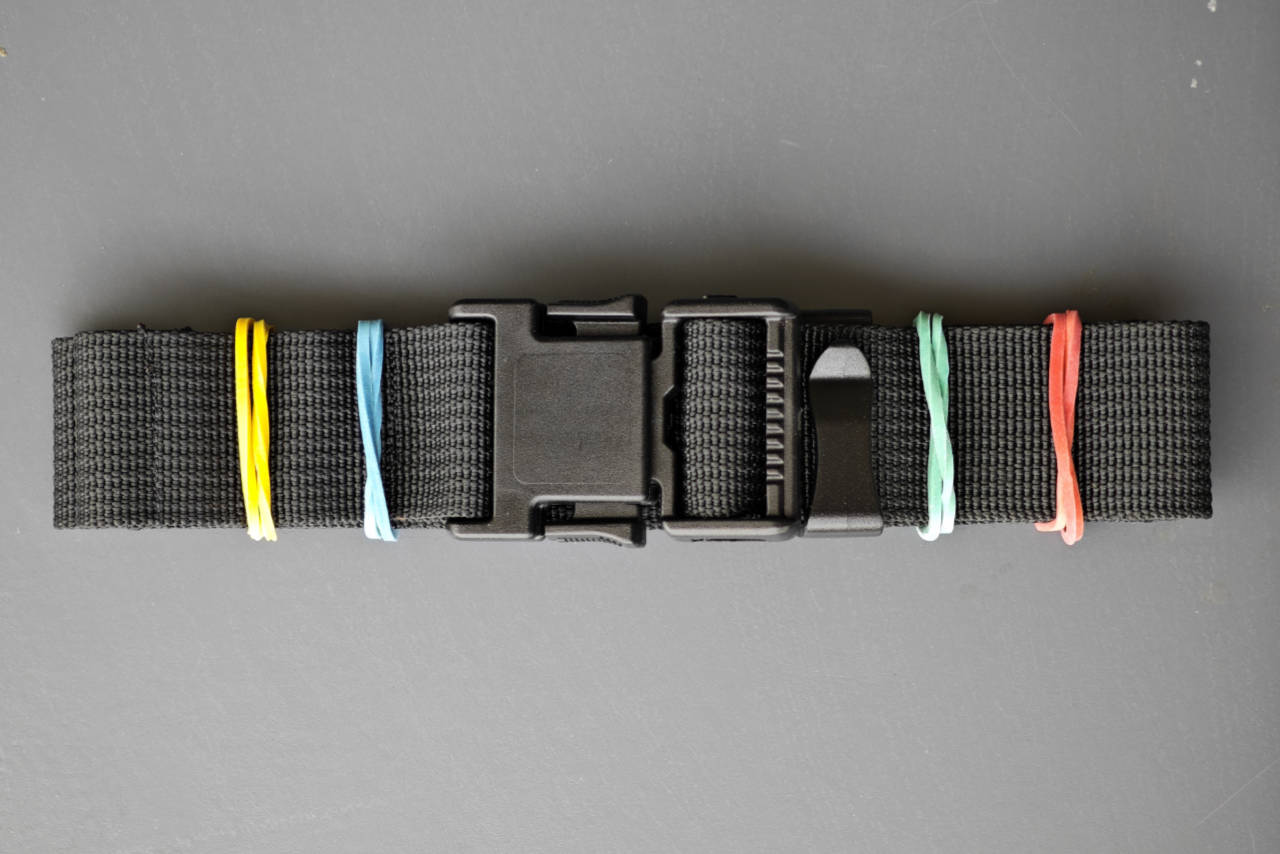
A few of Letentaculerose’s CEPHEUS brand custom technical belts that I like wearing:

In particular I enjoy the double layer belts, as he uses two types of nylon webbing, giving the belt a bit more heft and texture. I appreciate that he cuts them to my exact waist size and as I don’t like having much excess webbing dangling from my waist band (I know a lot of people do), he cuts it shorter for my belts.
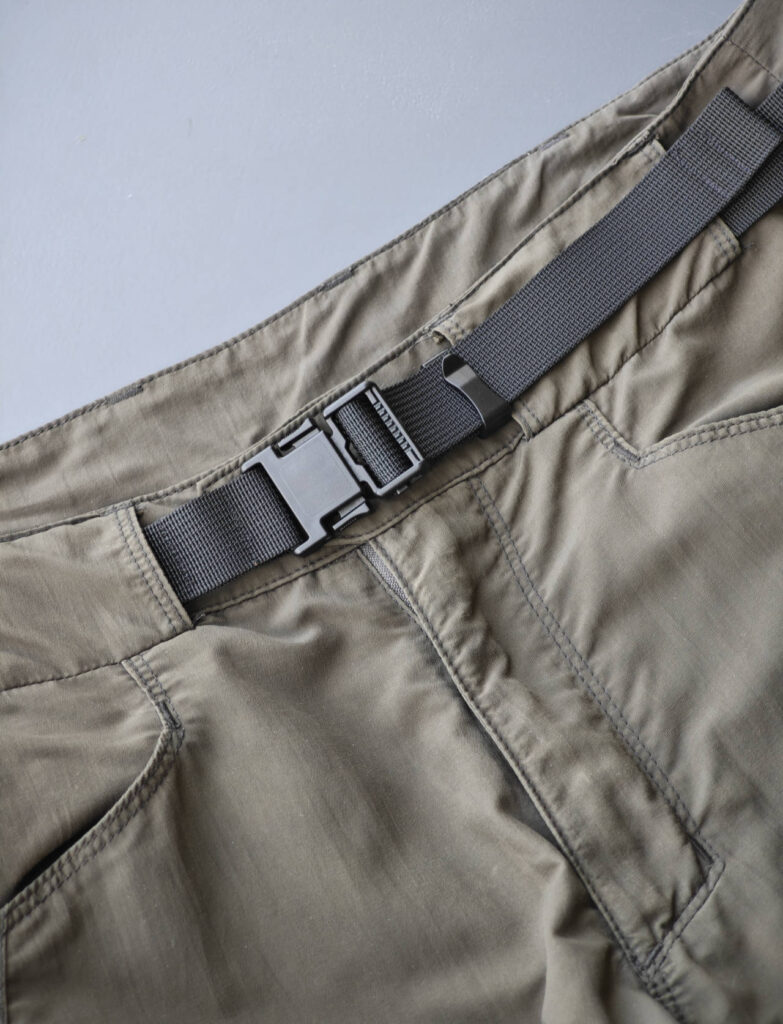
I also prefer smaller, slim buckles in plastic rather than heavier metal buckles as the added weight feels uncomfortable and the size of larger buckles like the AustriAlpin cobra do not fit through most casual belt loops. This isn’t a problem for most of my technical pants like my ROSEN-X Hitens, but it does present a issue for most of my designer casual five pocket pants and the like. Pulling out large buckle technical belts, such as a Cobra, from pants can take a long time and the slim buckles swap pretty quickly in comparison. The 25mm webbing belts with slim buckles just are more versatile and comfortable for me at the end of the day.
If you enjoyed this article, supporting SHELLZINE by any amount can be made via the link below. Your contribution is completely optional and all funds help cover the website’s growing hosting costs and enable further original content creation without the use of advertisements. Secure payments by all major card types, including Google Pay and Apple Pay, are supported.
